Ed. note: ‘Part 1, Japanese tissue paper casting‘ appeared on 6th April 2017.
Part 2: Creating ‘paper fur’
This technique is a lot of fun and was used to repair the damage and loss to the ears of a taxidermy jaguar. As you can see, our jaguar specimen is a little battered and worn. The curator and I agreed that the worn areas should be left as they were but the ears needed structural repairs and gap fills. Once again, Japanese tissue came to the rescue. As with the paper casting technique, this idea is not new but is a slightly altered version of techniques already used in taxidermy conservation.
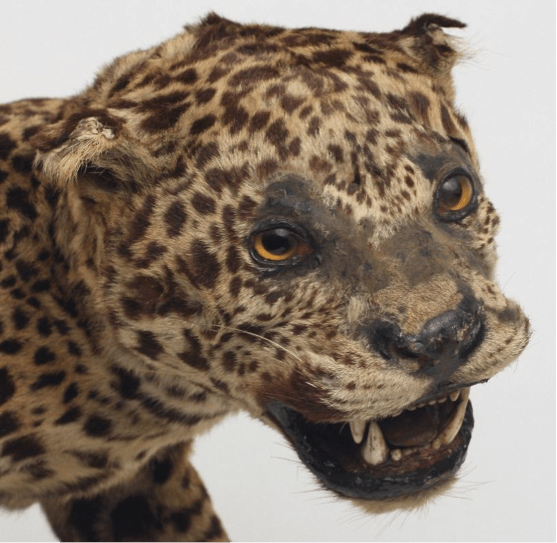
Fig. 1 The jaguar specimen, with worn fur and damaged ears
Making the fur
For the jaguar ear repair I used Kurotani #16 Kozo paper, but Tosa Usushi 15 gsm – used in the step-by-step guide below – also works well.
1. Create a base layer with dimensions corresponding to the size of the desired patch of fur.

Fig. 2 The base layer of tissue, with all edges feathered
2. Water-cut thin strips of tissue so they are the same width as your base layer. For the height, I suggest 5-10 mm. Water-cutting will make sure the long edges of the tissue are feathered, but I also recommend teasing the fibres with a pair of blunt-end tweezers to separate them a bit more.

Fig. 3 A water-cut and feathered tissue strip
3. Fold the strip in half, slightly off-centre. Gently scoring strips with a scalpel or a fine pin makes folding easier, and folding them over a metal ruler gives a good crease.

Fig. 4 Folding the strip in half gives a double feathered edge and more volume to the paper fur
4. Coat the base sheet of Japanese tissue with starch paste. Gently position the strip at the fold against the adhesive-coated base sheet. A fine-pointed skewer helps to position the strips and can be run along the fold line to ensure there is good contact between the folded edge of the strip and the base paper. However, do not put too much pressure on the rest of the strip, as it should only be adhered at the folded edge.

Fig. 5 Base layer coated in adhesive
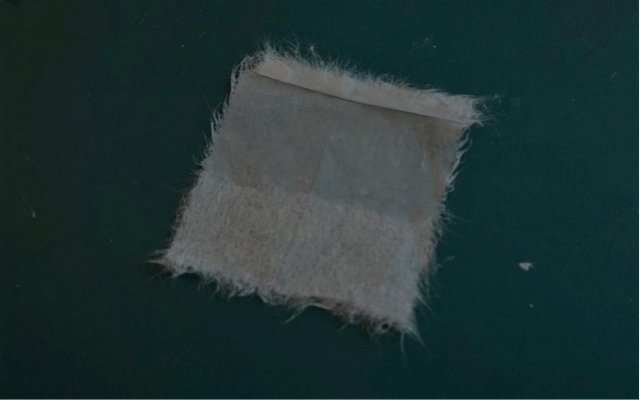
Fig. 6 The first folded tissue strip applied to the top edge of the base tissue
5. Apply another folded and feathered strip as close as possible to the fold line of the previous strip. Continue this process, building up the rows of tissue and applying fresh starch paste to the base sheet for new strips.

Fig. 7 The fur builds up as the folded strips of tissue are added.
6. Once all of the strips have been applied and the adhesive has dried, gently ‘brush out’ the layers in the direction of the fibres using a stencil brush or other stiff brush… et voilà: paper fur, a 2D material now in 3D!
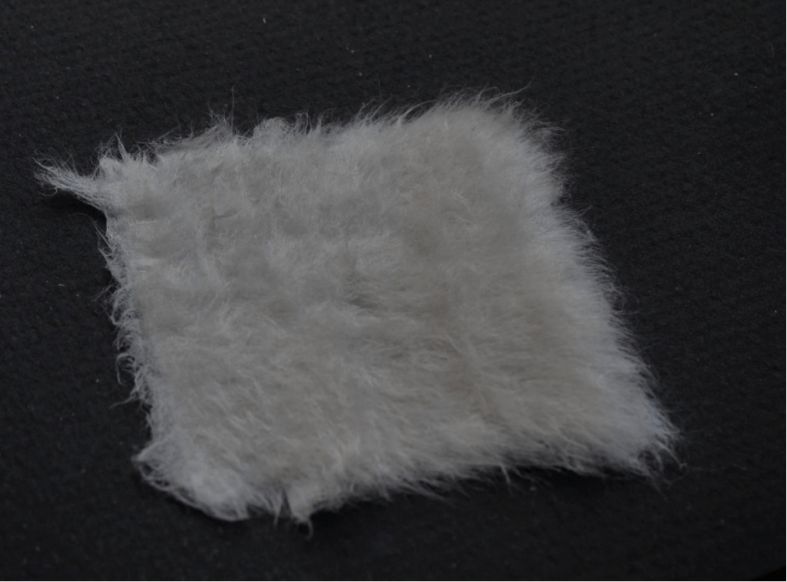
Fig. 8 Furry paper!
Colouring the fur
Colouring is an aspect of paper fur making that needs further testing and research. I experimented by tinting the paper and paper fur samples with watercolours, acrylics and inks but none of these techniques produced a satisfactory colour for the jaguar ears; the watercolours and acrylics even altered the texture of the paper fur. Time constraints prevented me from dyeing the tissue or finding the appropriate ink colours. I ultimately chose to brush dry pigment onto and through the paper fur to allow me to gradually build up the colour on the fibres, and then used a small amount of microcrystalline wax brushed through with a stencil brush to ‘fix’ the pigments. Unlike tinting with water colour or acrylic paint, this technique did not affect the overall texture of the fur.

Fig. 9 The paper fur coloured with pigments and microcrystalline wax
While this method appears to have worked for the jaguar ears, it would be useful to experiment with either dying the tissue paper before creating the fur or applying different types of ink to it to achieve a more precise colour. If anyone has further success tinting and colouring paper fur, please get in contact!

Fig. 10 The jaguar with the repaired ear tips
Materials and suppliers:
- Japanese tissues Shepherds inc. Falkiner Fine Papers
- Starch paste and fountain brush for water-cutting Conservation by Design
Charlotte Ridley is an objects conservator and specialises in the conservation of anthropology and natural history collections. She is the current Icon Ethnography Group Chair and is Conservation Officer for the Horniman Museum and Gardens in Forest Hill, London.

Thanks for this, Charlotte, it is a great technique and really inspiring. The results look great!
LikeLike
Fabulous and valuable work, thank you for sharing!
LikeLike
Well done Charlotte! Another very useful extrapolation of Japanese tissue technology for Natural History. I shall get some and try it out the next time I have some fur patching to do, rather than transplanting.
LikeLike