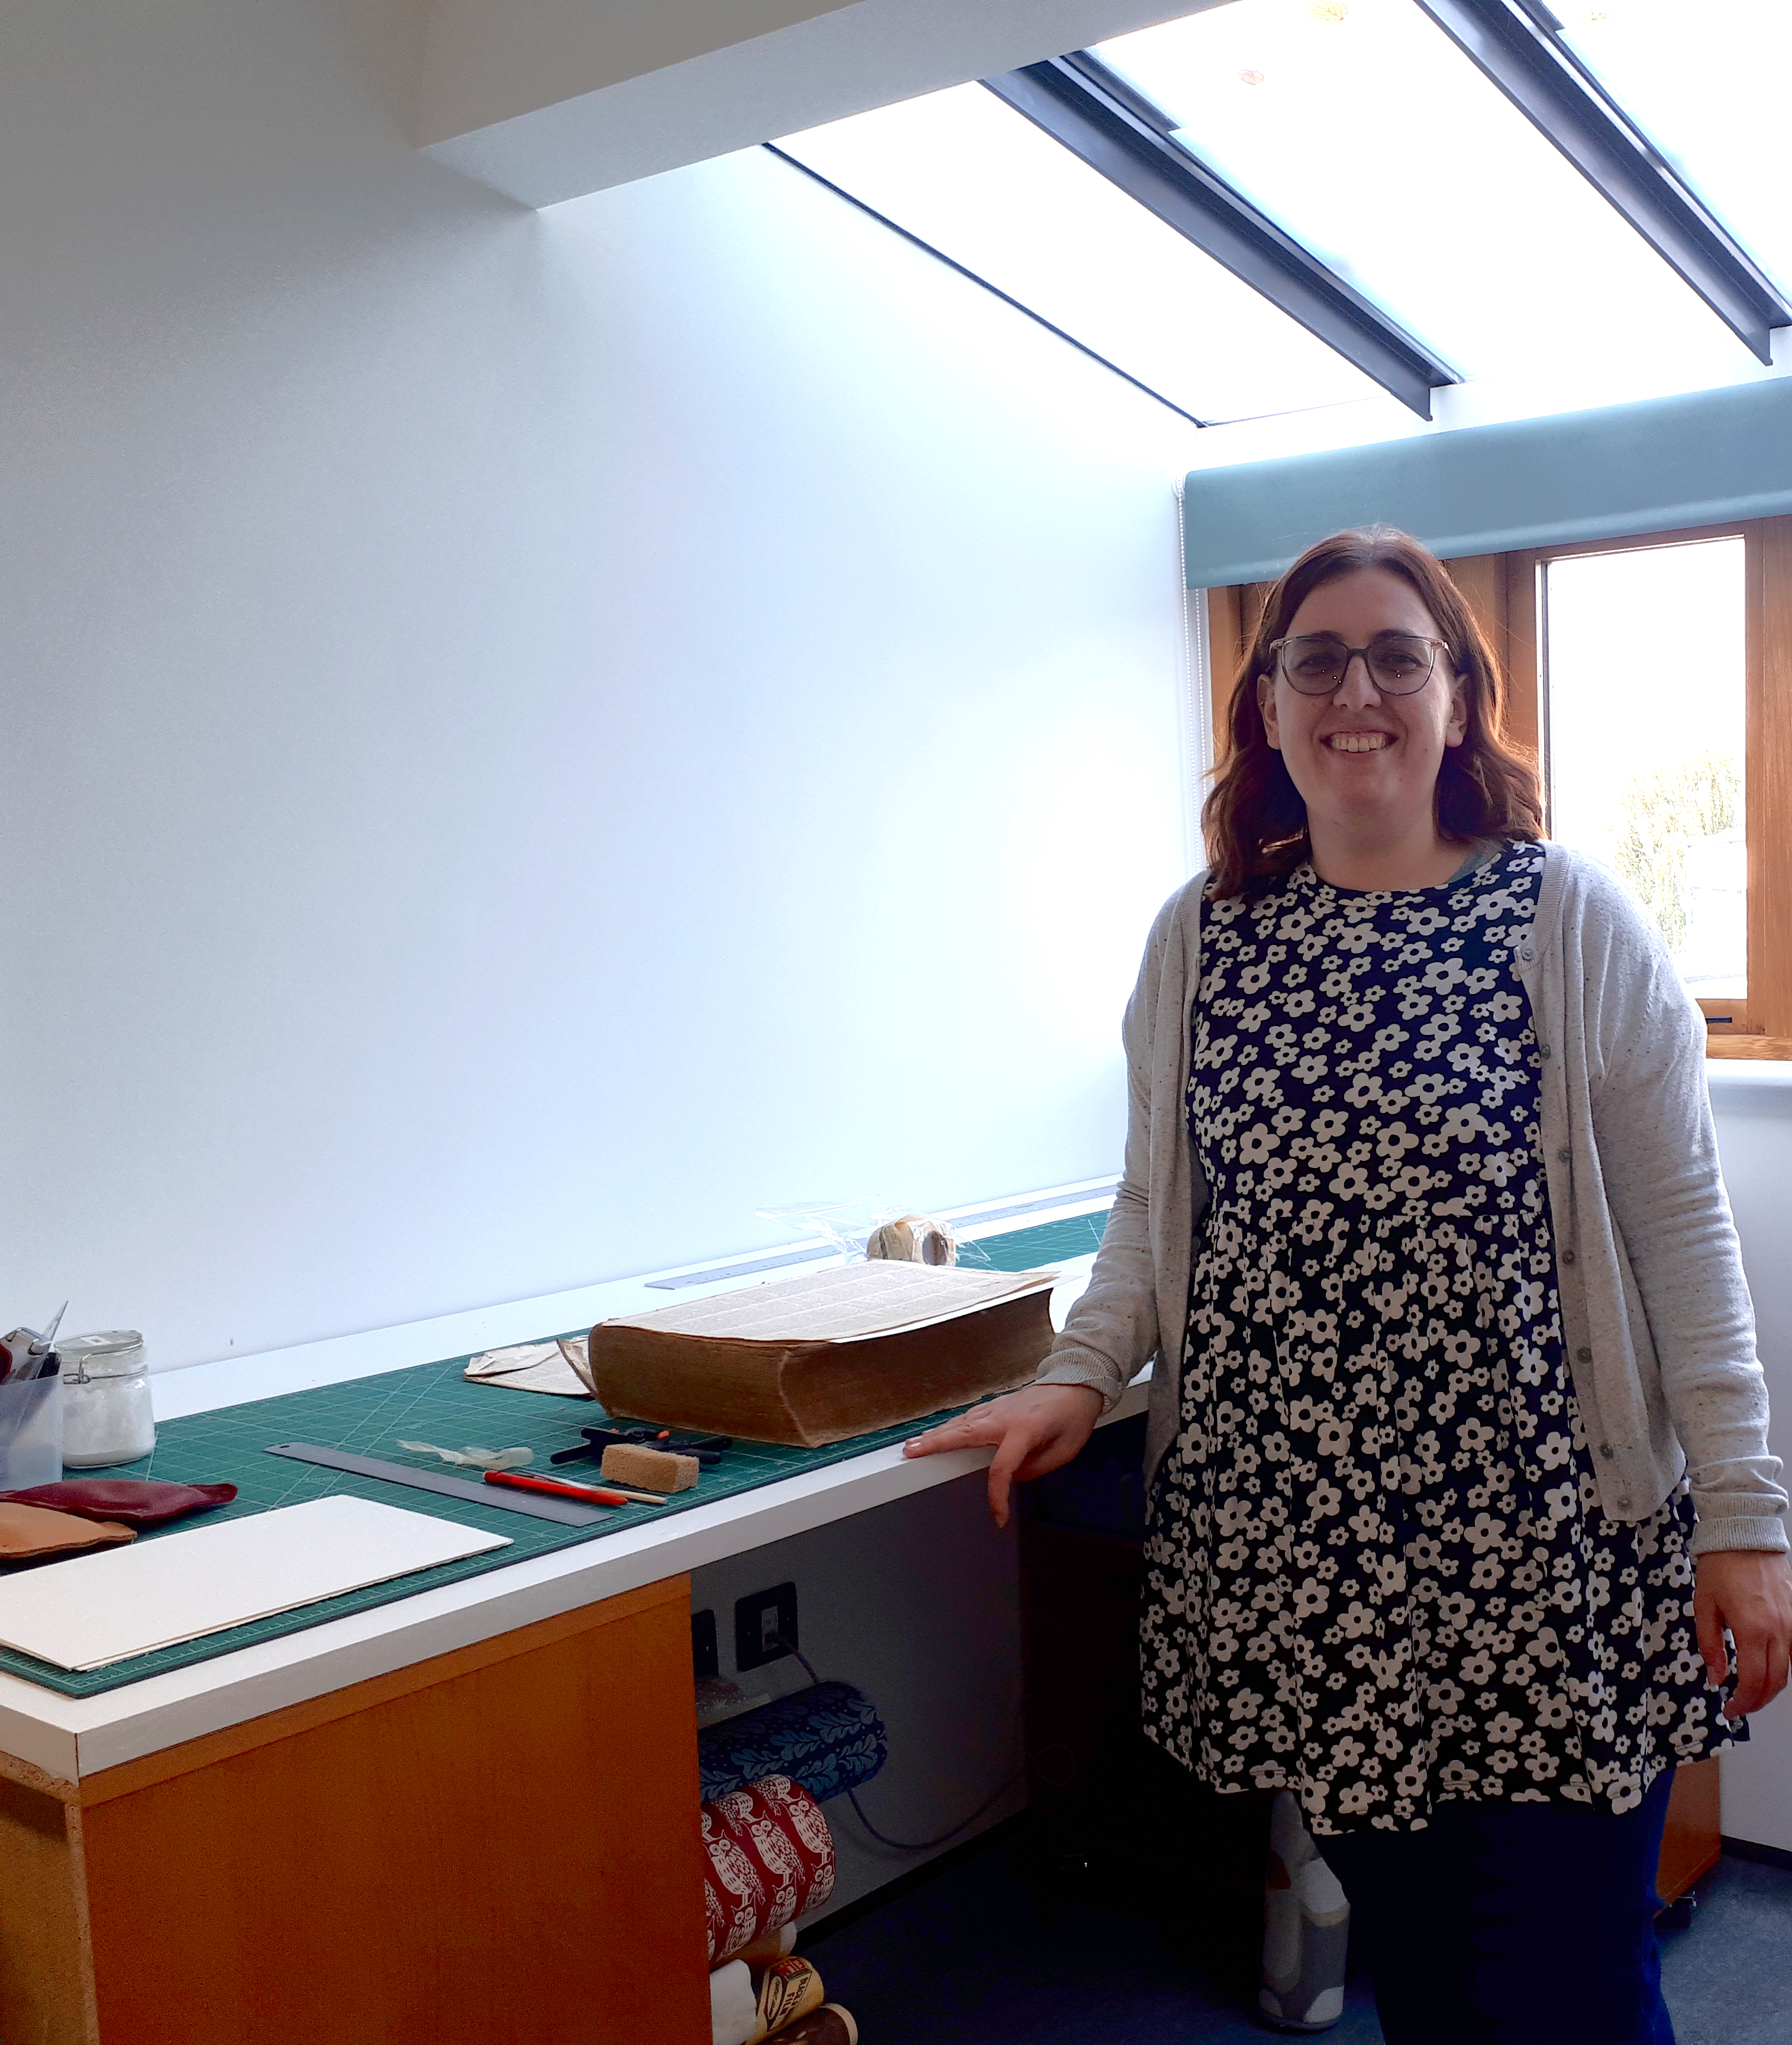
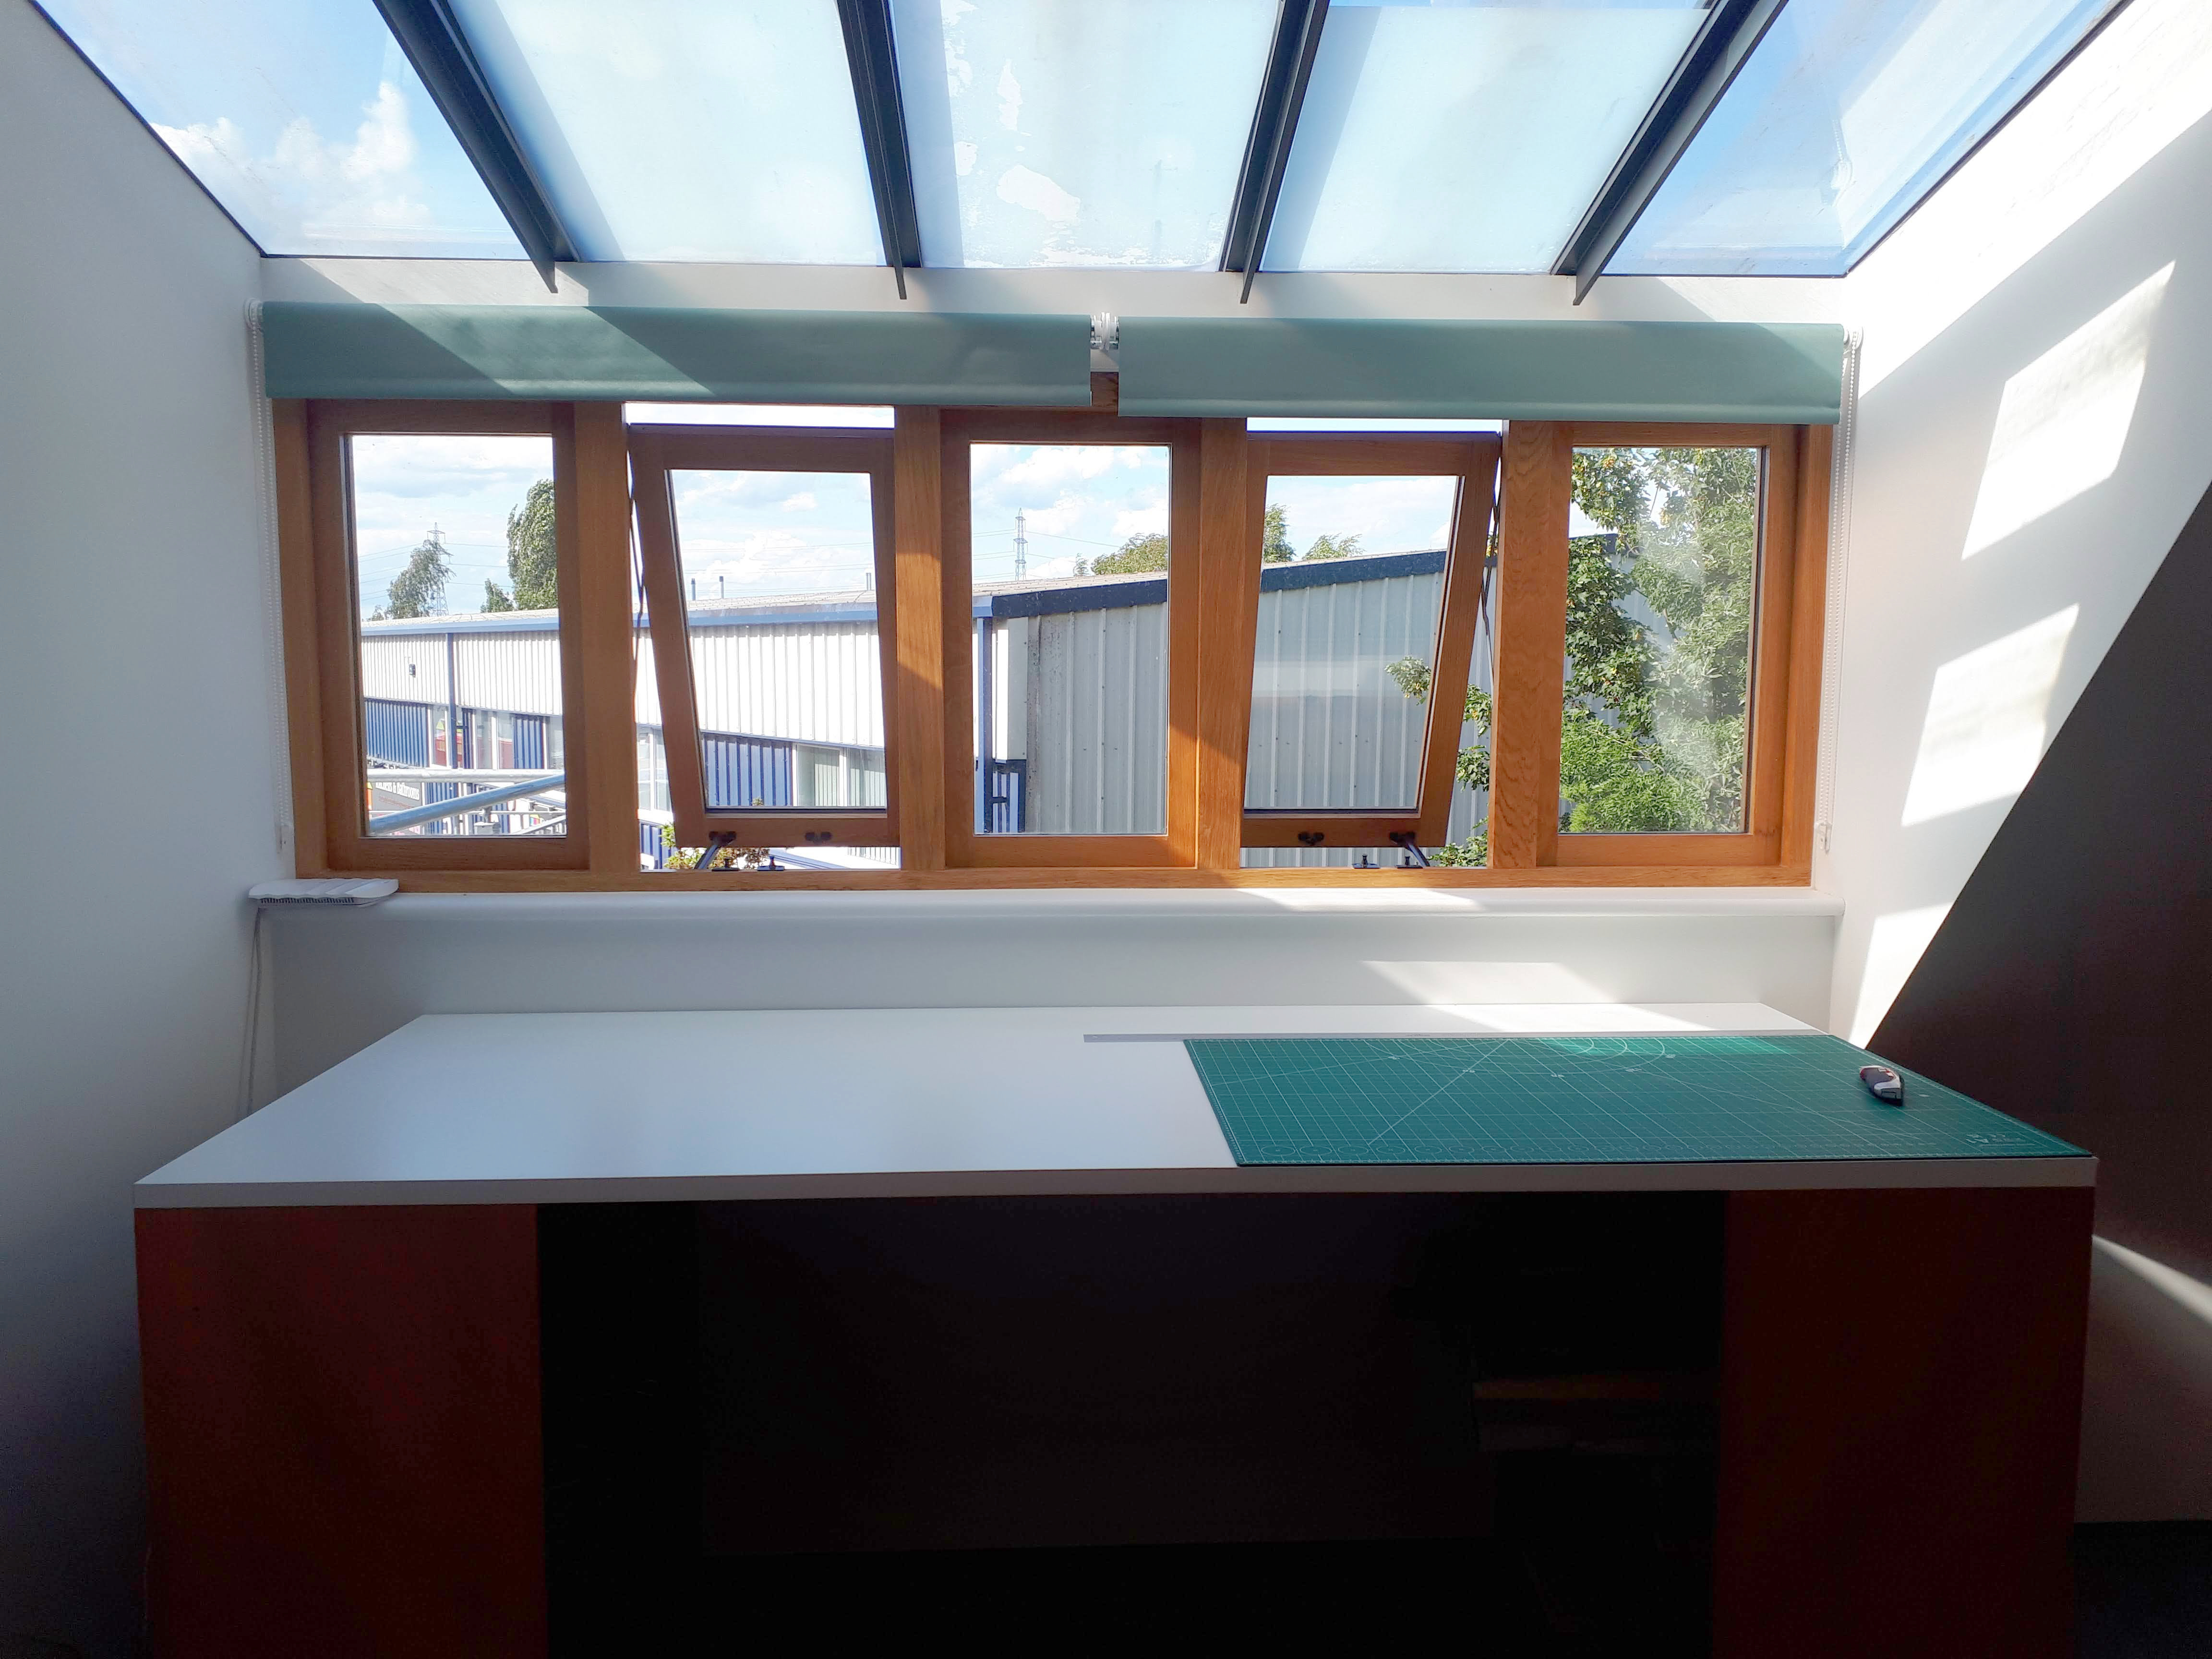
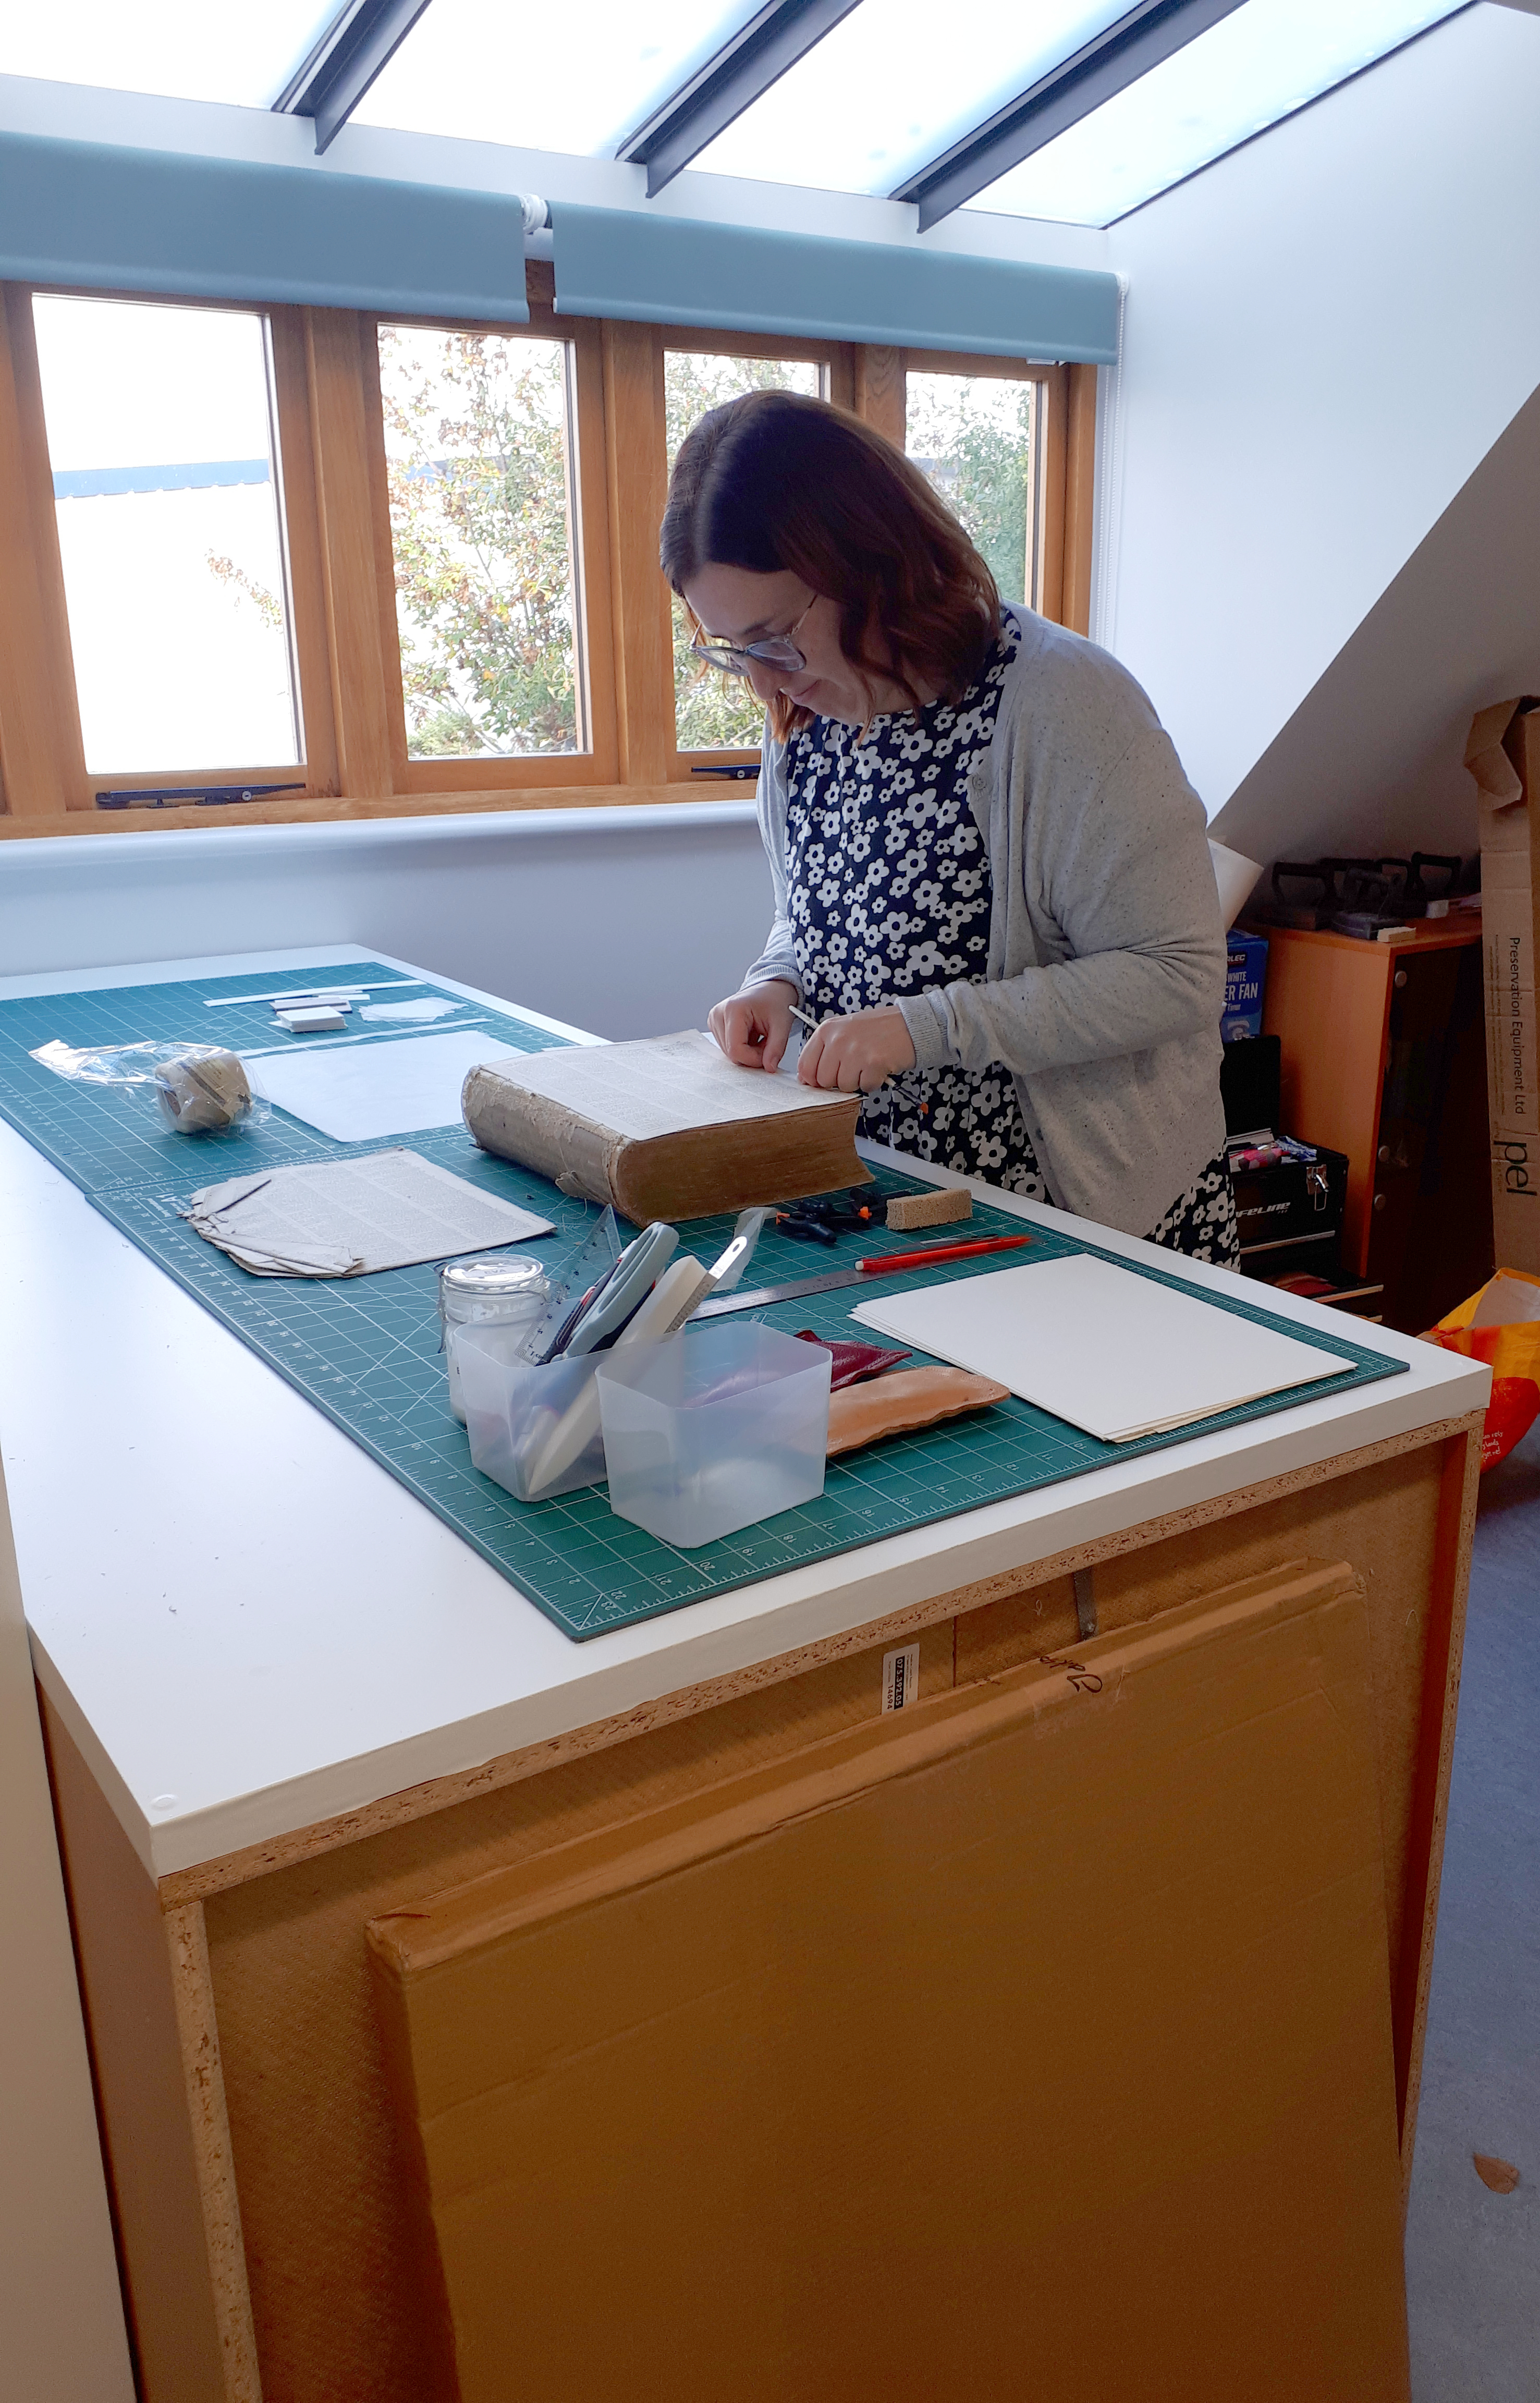
As a conservator who has frequently done short-term projects or freelance work for various institutions, I’ve often been sent to work in spaces that aren’t really set up for the tasks that I am required to do. Office spaces, libraries, cold storerooms, attic spaces and even cupboards are places I’ve had to work in. This is fine for the short term, and usually these are the only feasible spare spaces available at the time. But often these temporary solutions end up leading to months or years of trying to work with and around equipment that isn’t suited to the task. The biggest problem is that the tables are too low when the work requires me to stand all day.
So many times I’ve been asked to work on a low table or desk – even a ping-pong table (which is actually a genius idea if you need to find a large movable work table quickly). And then – surprise, surprise! – I cannot move the next day because my back is broken! And I can assure you, an osteopath charges way more an hour than a conservator. As a freelancer, the decision to take days off is one I cannot afford. And so, when renting my own studio space, one of my first priorities was to install an affordable and flexible work table, as I hope to spend many hours and days working there.
Earlier in 2023 I rented a studio space and started filling it with the materials, equipment and tools I would need to set up a space that really works for me. I also wanted to keep it as affordable as possible. A real priority was a work table that I could stand at without having to stoop over it all day, and one that I could move around the space. If you browse the go-to conservation suppliers for the prices of work tables, it is a slightly jaw-dropping experience! So I knew I would have to find a DIY and/or secondhand solution.
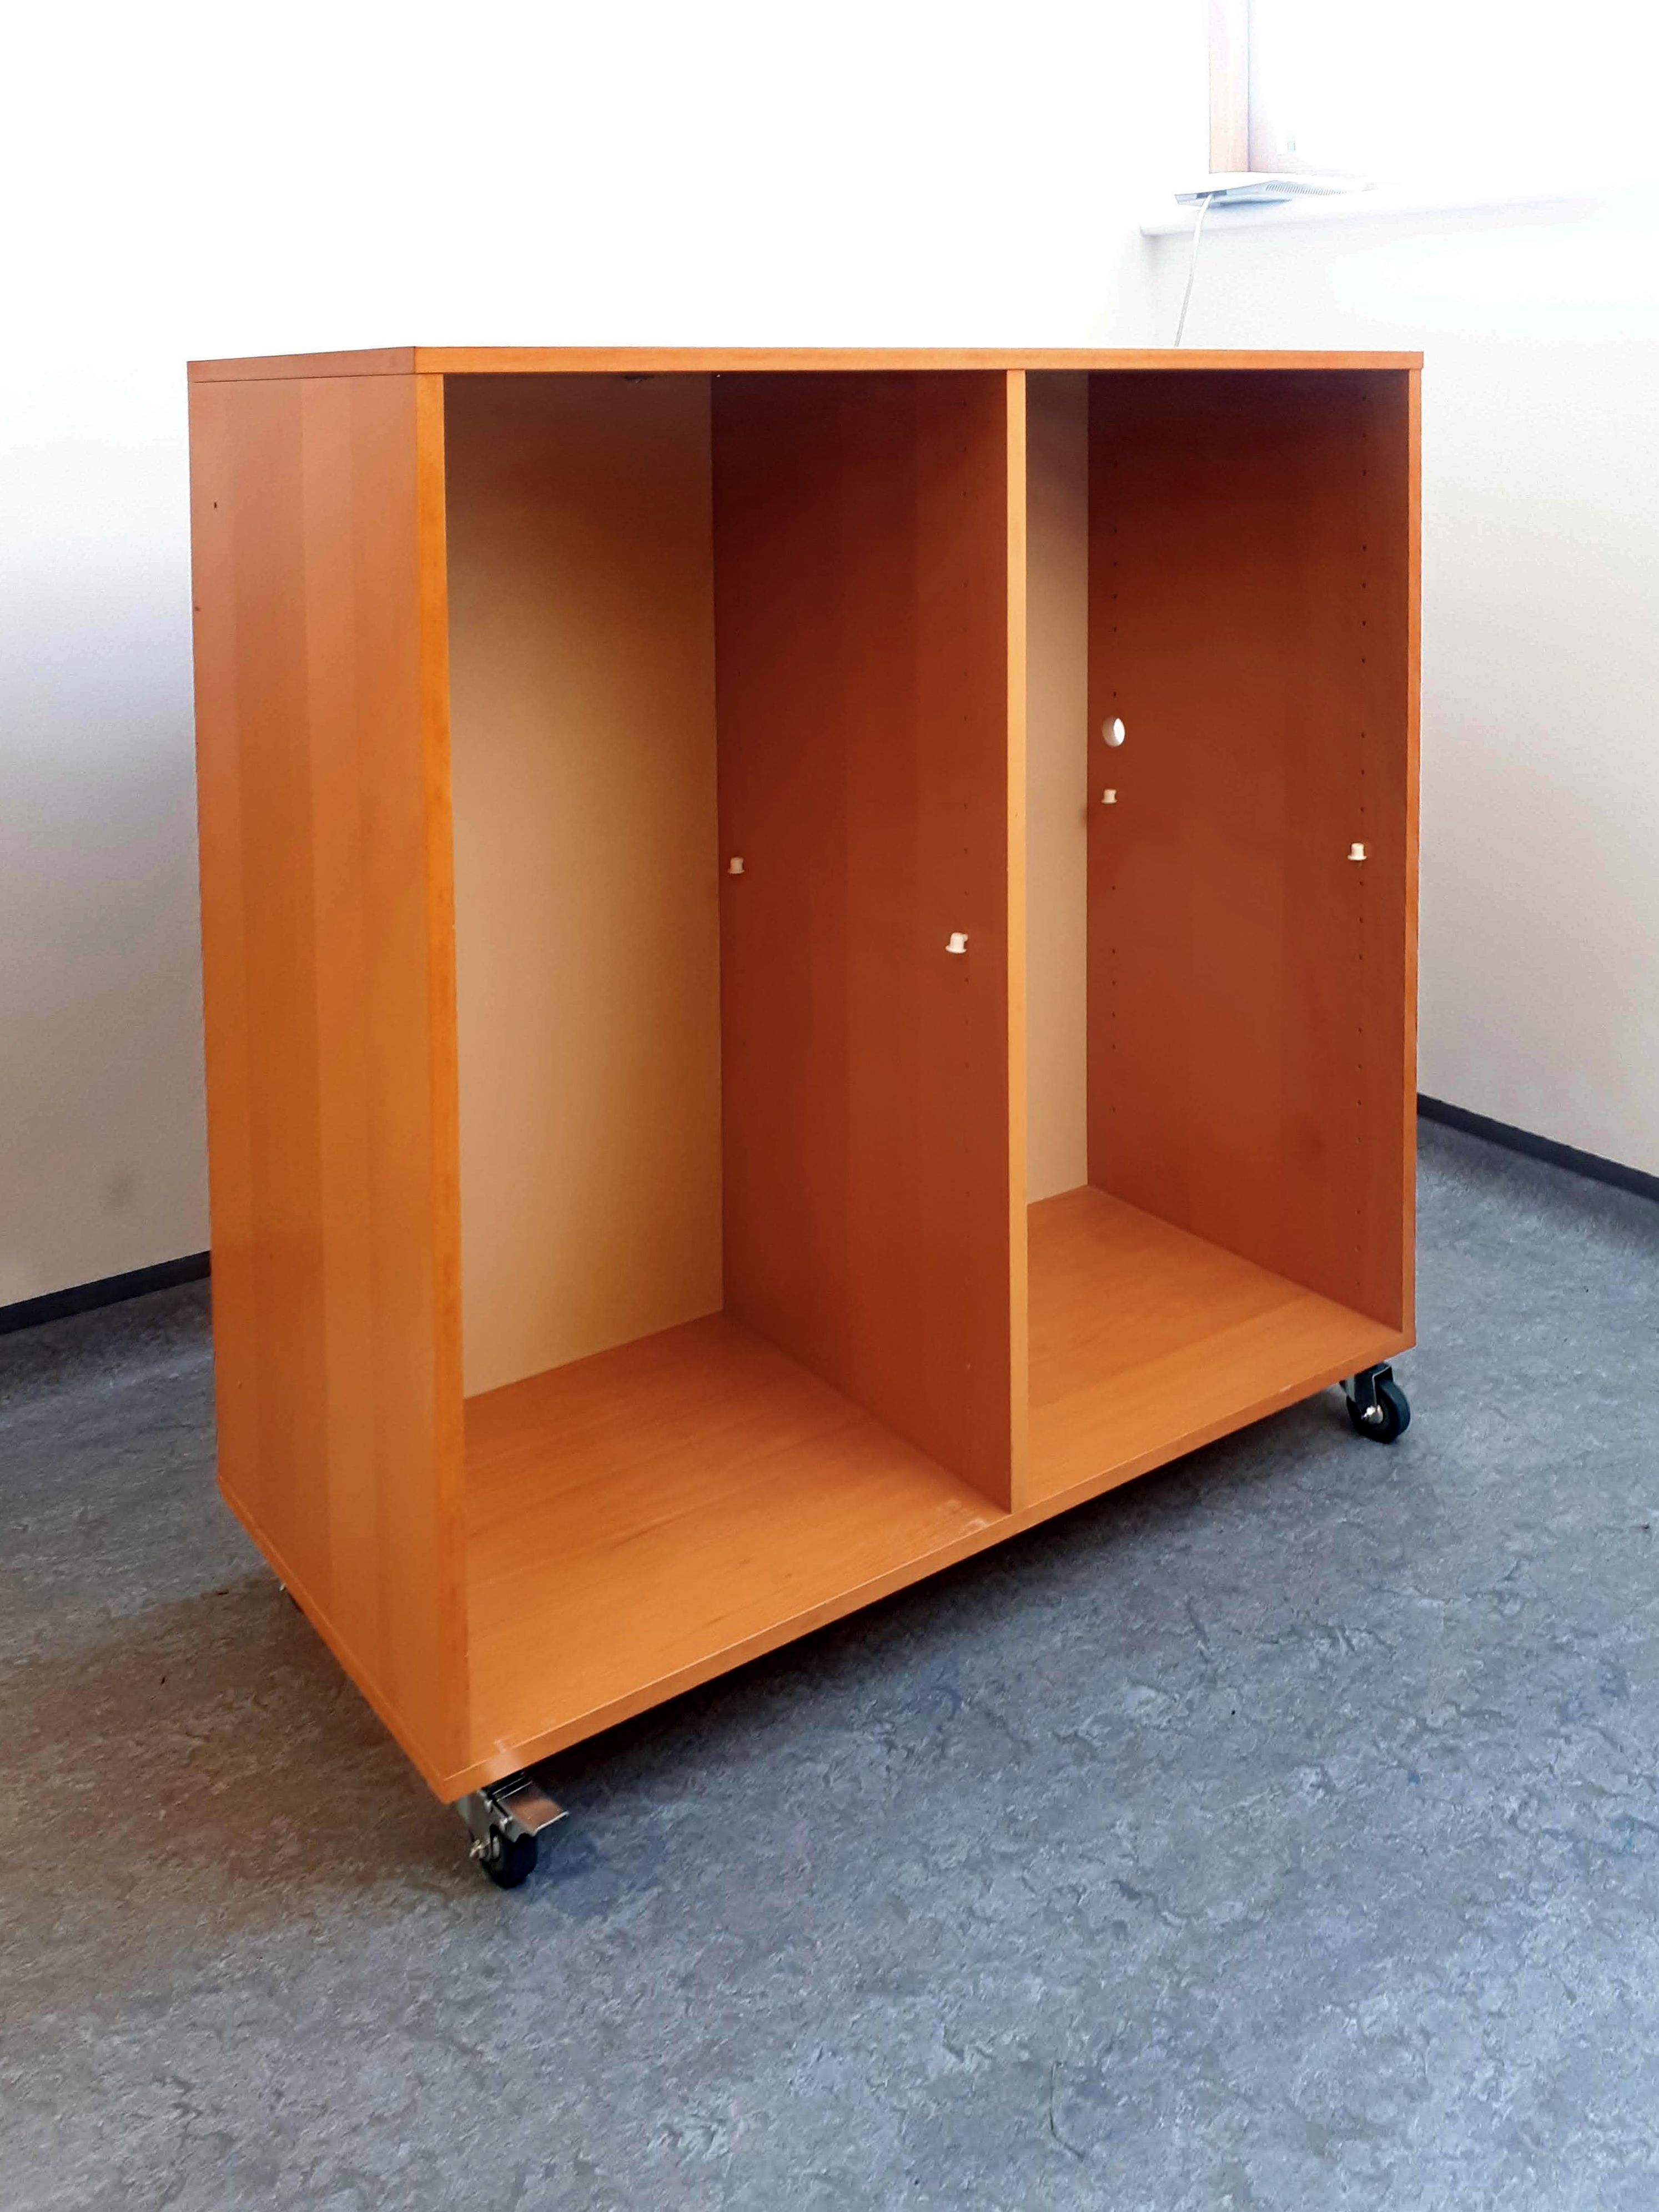
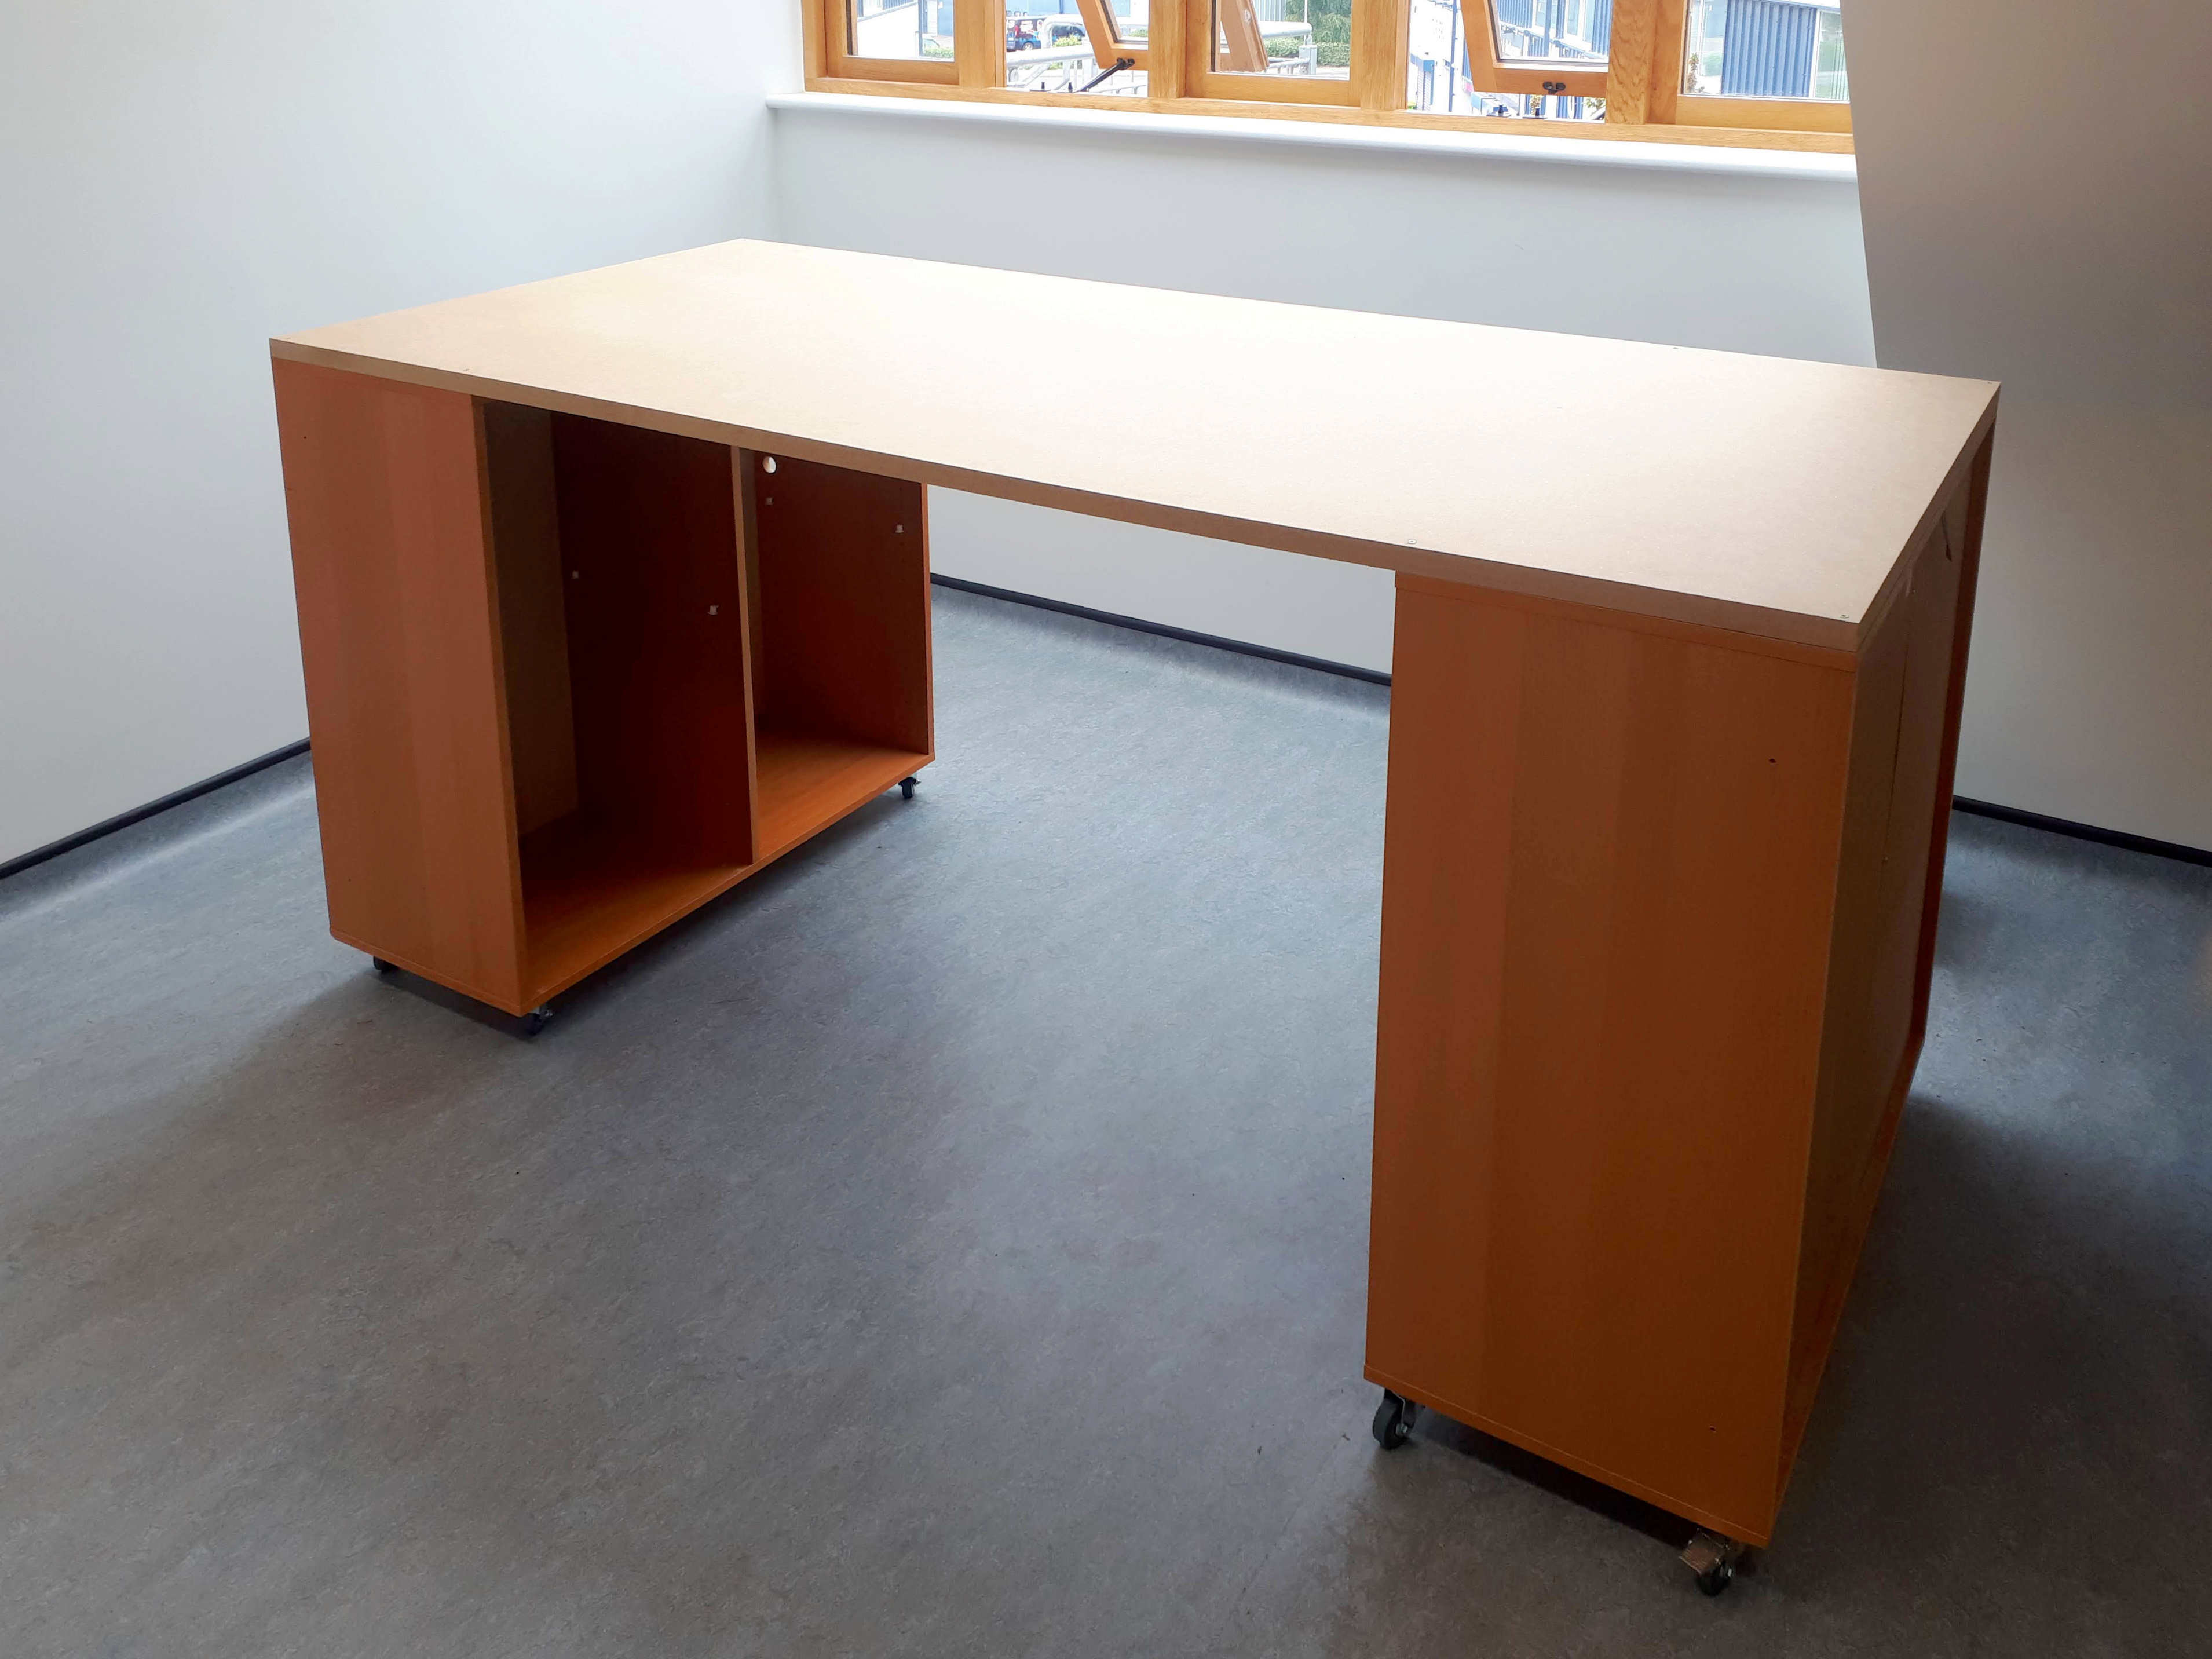
To search for inspiration, I started browsing Pinterest and other sites, which led me to search for IKEA sewing work tables. People who sew often need large work areas to cut out fabric and patterns, and also need to stand and sit, so they have come up with some really useful ideas. They utilise cube shelving units from IKEA (or other companies) and place a large solid piece of wood/MDF/kitchen worktop on top. They secure all the elements together to make a work table that is as tall as you need it to be, incorporates storage, and can be made movable by the addition of wheels on the bases of the cube units.
You can make these tables in all sorts of configurations, as small or as large as you like, and you can also incorporate additional cube unit accessories – drawers, cupboards, pegboards, etc. I also really like this idea because the dimensions stay constant – if you bought an IKEA cube unit five years ago, you could buy another matching unit today – so you can build up a collection one by one if, for example, you are buying them secondhand. Also, everything is easily dismantled into component parts if you ever need to move the table elsewhere.
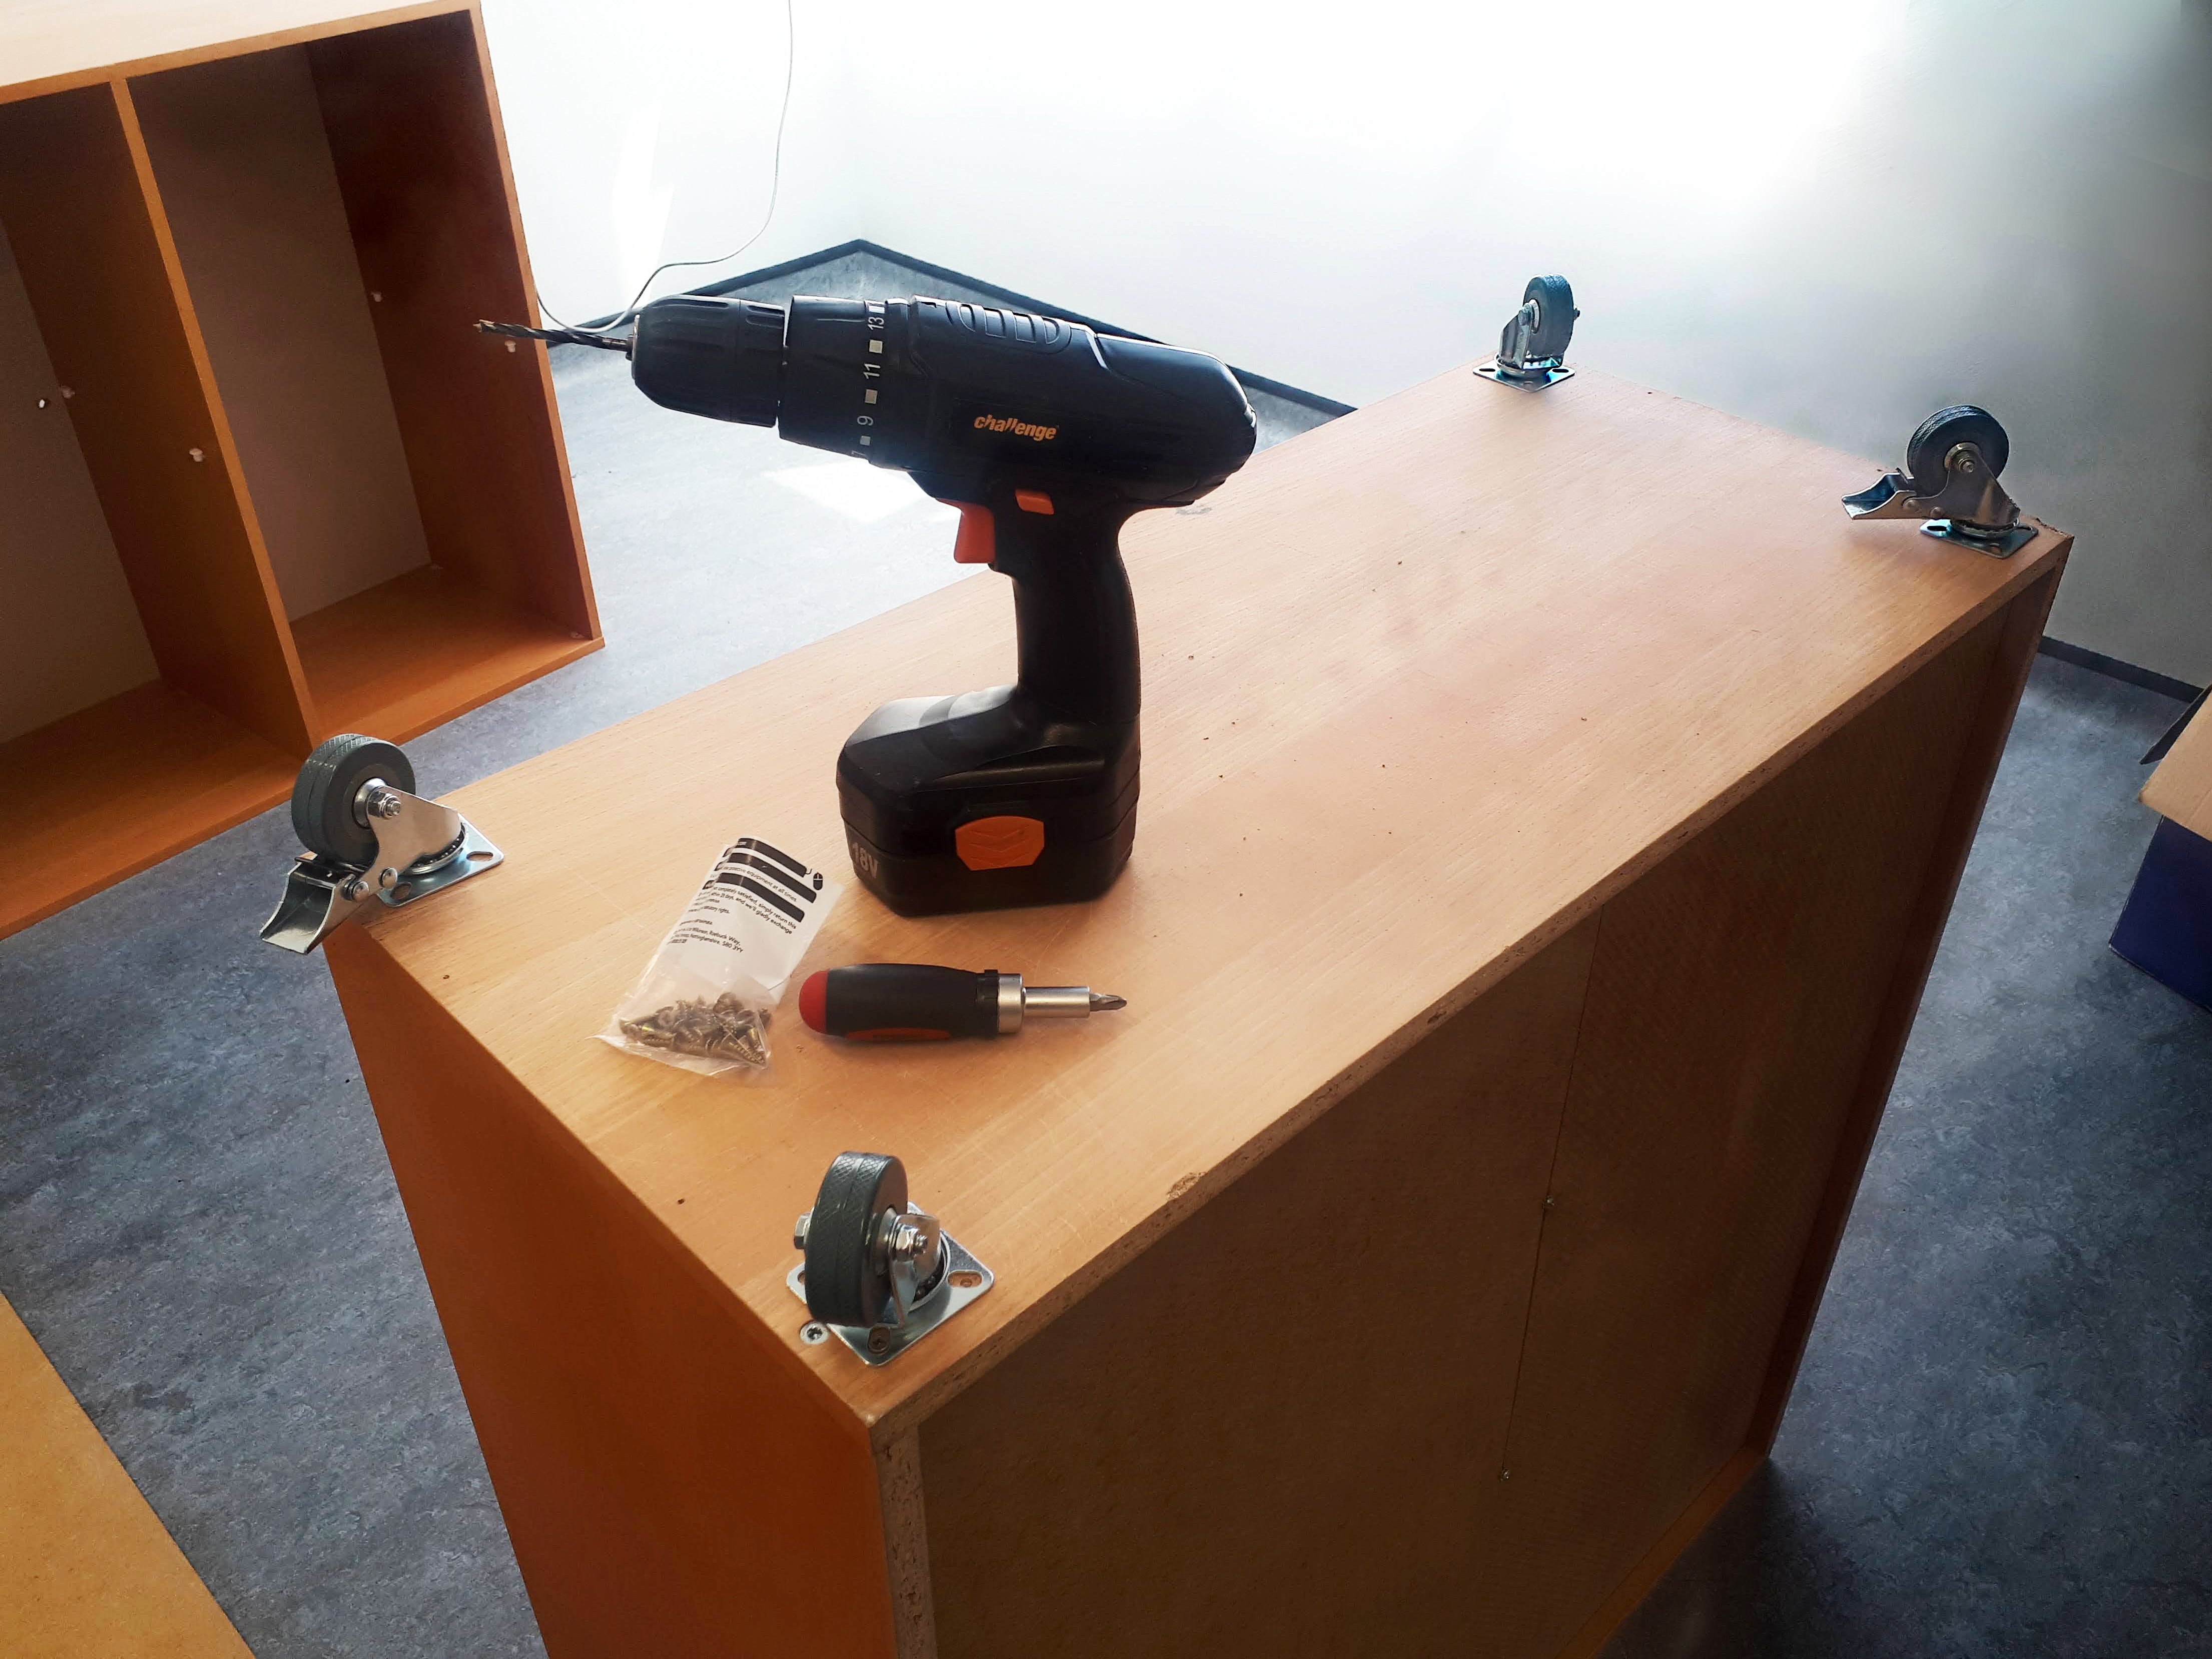
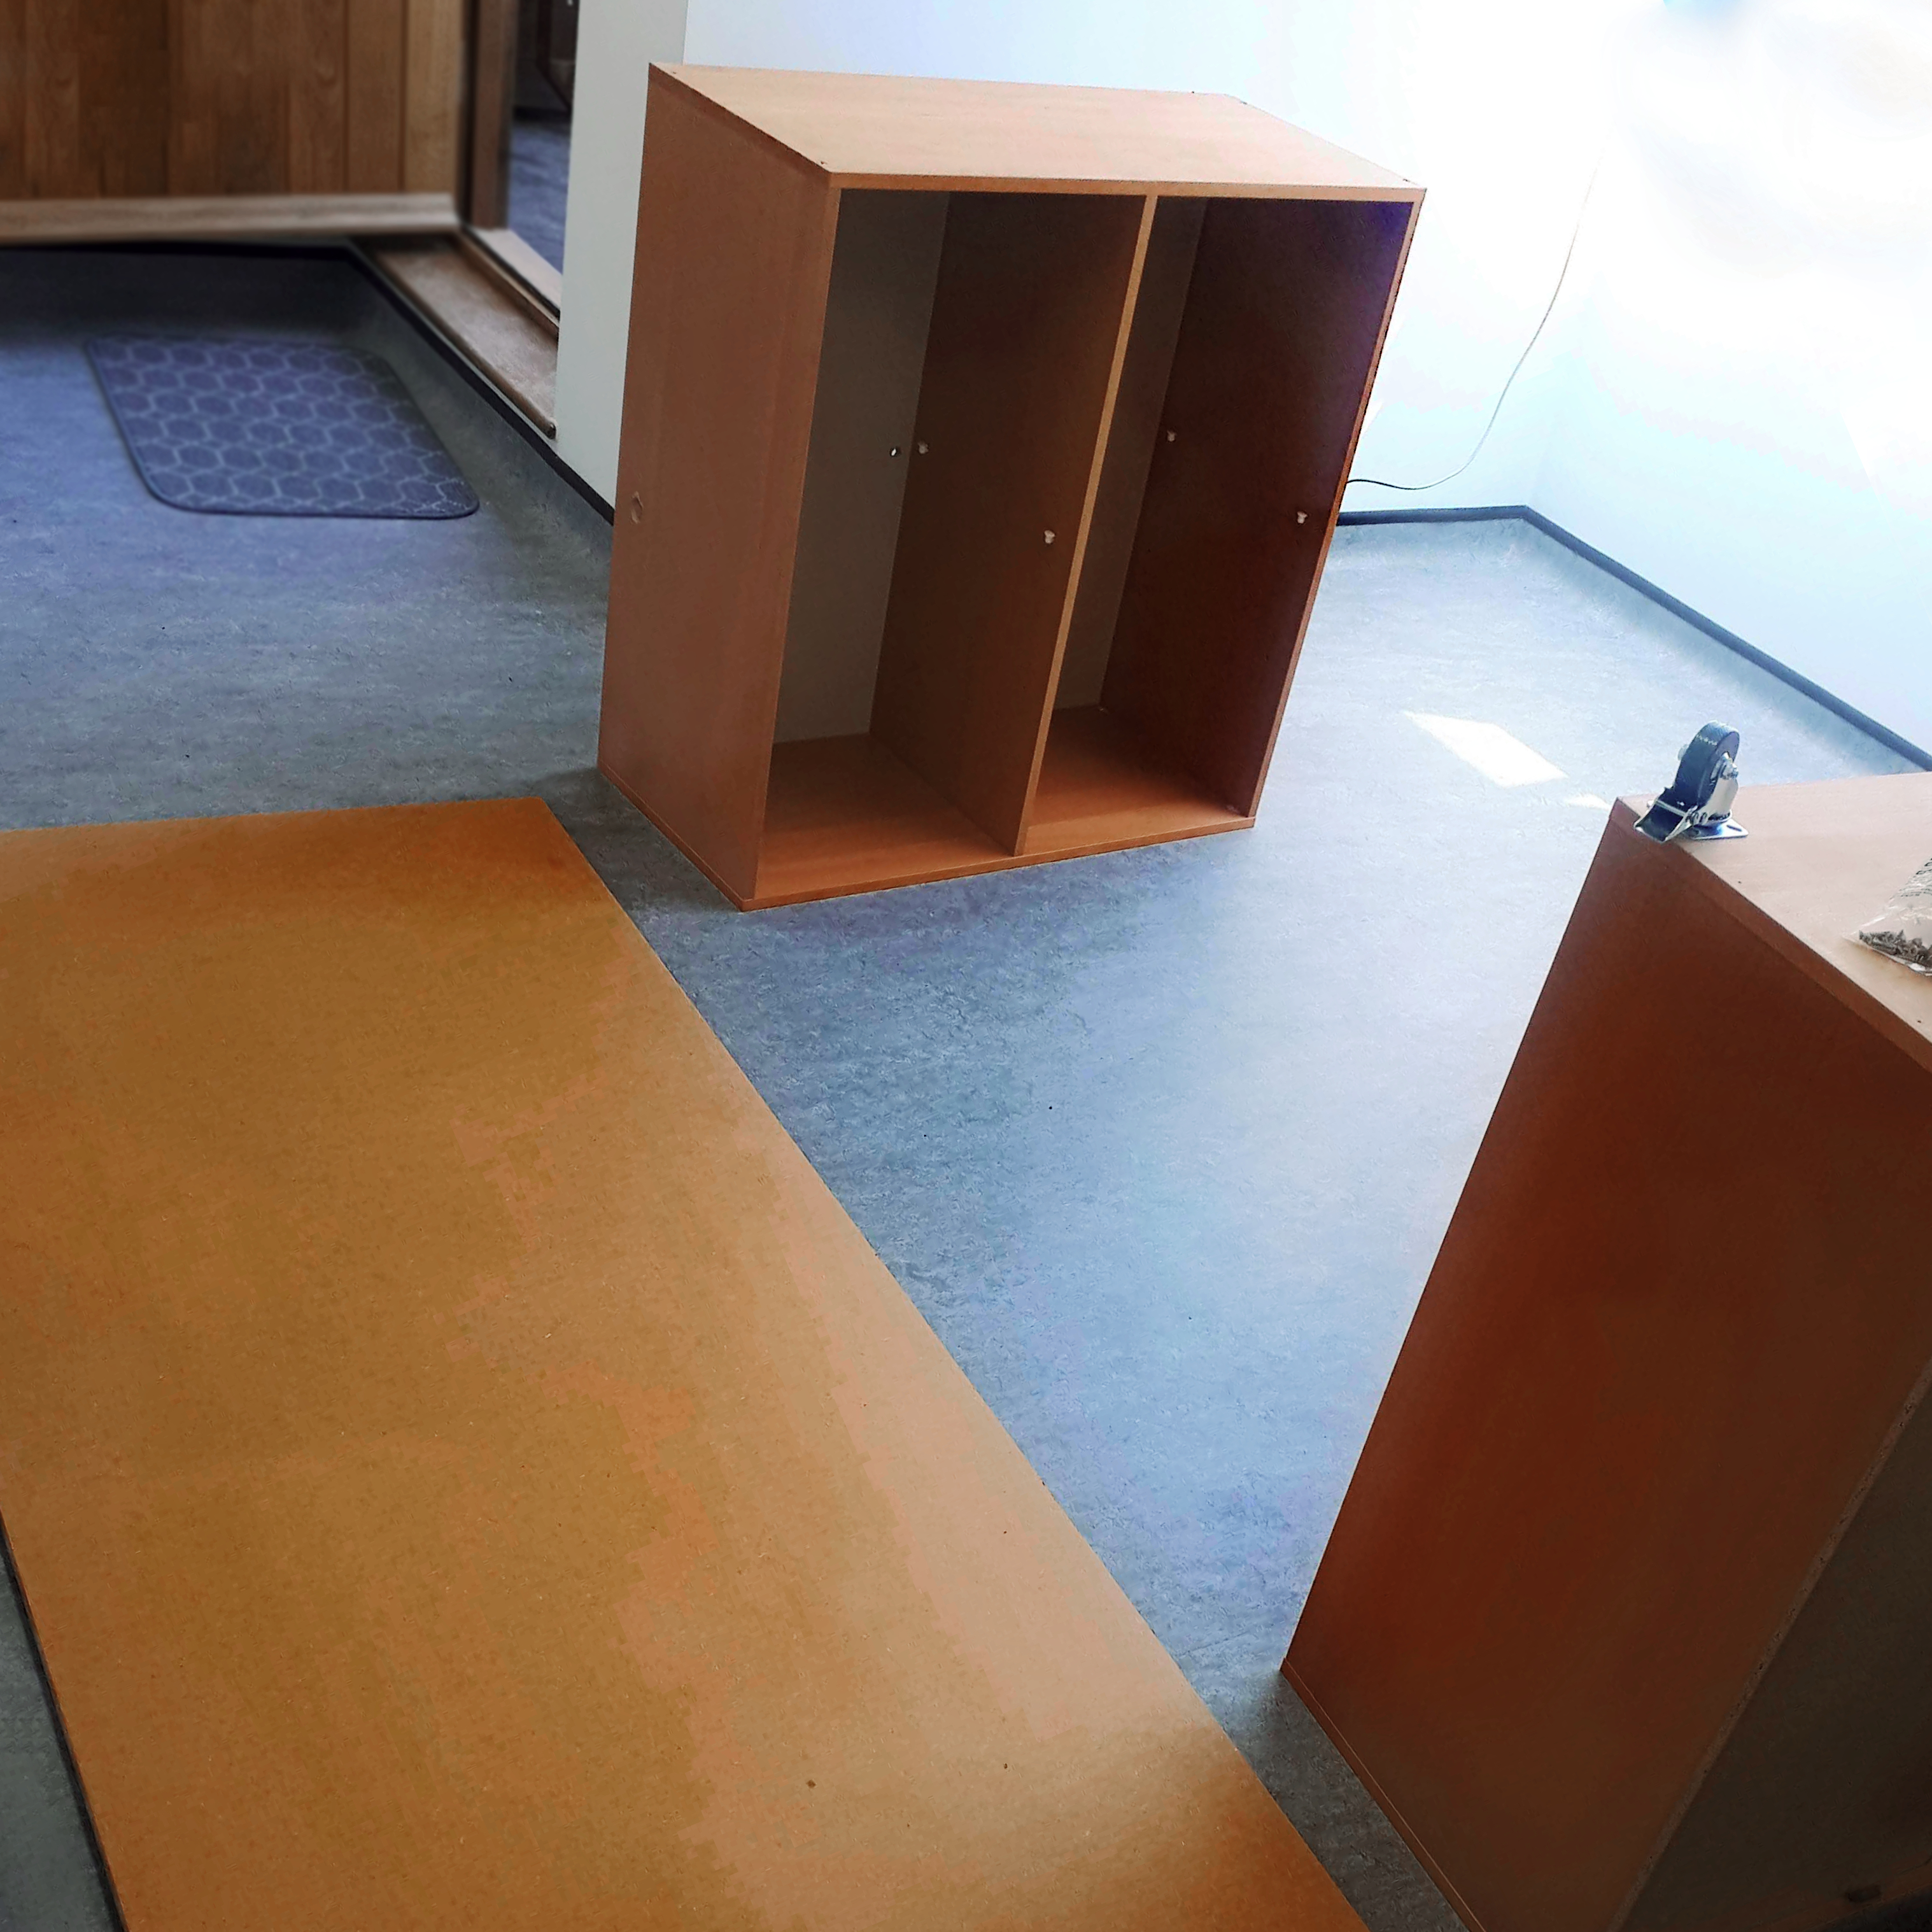
I was really lucky and saw some secondhand IKEA cube units on Facebook Marketplace. I managed to get two 2 x 2 cube units to start with. I then bought wheels with brakes and screwed them into the bases of the cube units. I found a company down the road from my studio which cut MDF to size and delivered it. (This did incur an extra cost. There are many hardware stores that may do this for you for less, but I found it quite difficult to find one that cut the right thickness of MDF to size and also delivered.)
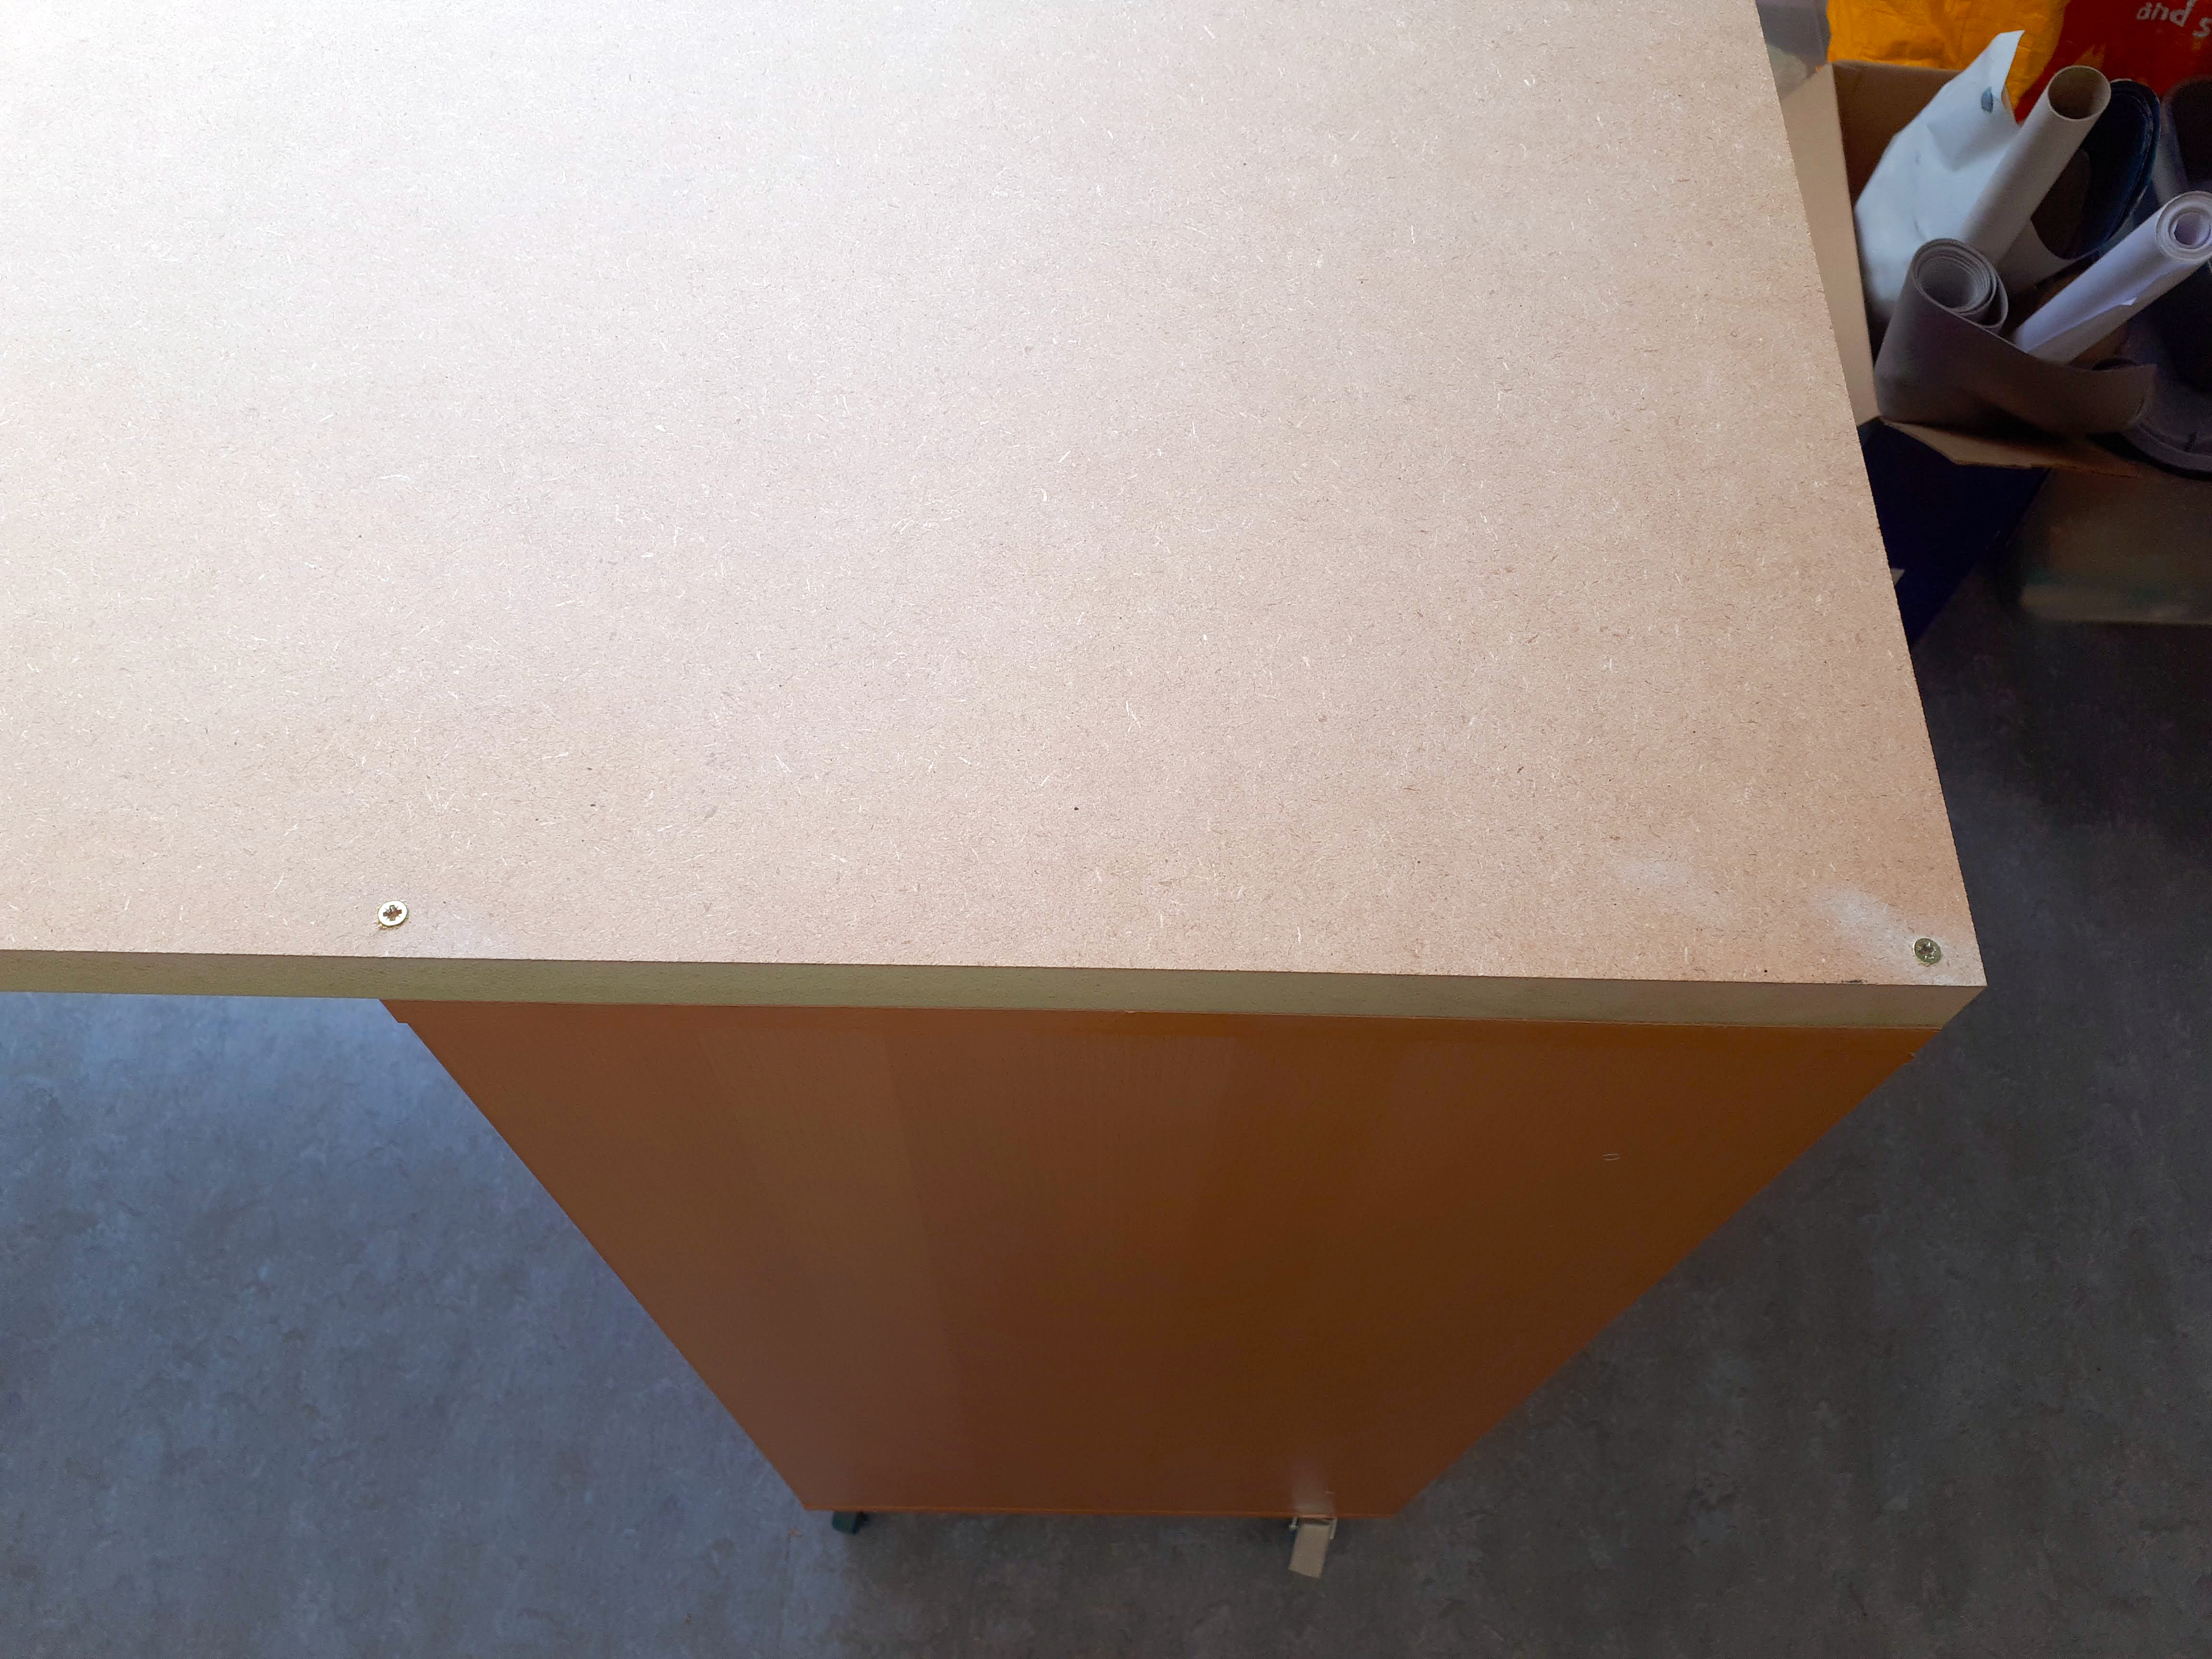
I got a piece of MDF cut to the exact size I wanted – so it would fit the width of the cube units perfectly and leave enough space between the units for my legs if I sat at the table on a high stool. The space could also be used to store more things under the table. The MDF needed to be thick enough that it wouldn’t bend in the gap between the two cube units – I went with 25 mm. Unfortunately, the company didn’t have any melamine-coated or similar MDF in stock, so I just got 25 mm thick MDF and a roll of vinyl covering to make a smooth tabletop. The finish isn’t as nice as melamine, but it was probably slightly cheaper, and it does the job.
Materials
- 2 x IKEA cube units – bought secondhand for about £12 for the pair. (If you want brand-new units, they are about £35 each)
- Wheel set x 2 – £20 (Can be found in hardware stores; I got mine from Amazon)
- 25 mm MDF cut to size (850 mm x 2000 mm) plus delivery – £82
- Roll of vinyl covering – £10
- Screws – £6
TOTAL = £130

Tips
- When I asked for the MDF to be cut to size, they asked whether I wanted the offcuts as well, and I said yes. Now I have two bits of massive MDF that I don’t know what to do with! I should have thought this out beforehand and come prepared with more measurements. Then I could have had the offcuts cut into pressing boards or something else useful.
- I was worried that if I assembled the tabletop onto the cube units upside down and then flipped it right way up, the units might be damaged during the flipping because the tabletop was so heavy. But it is definitely easier to assemble it this way (so you can screw down through the cube unit tops and into the tabletop). Consider doing this if you have the help to flip the table and if it’s perhaps a bit smaller. I did it the other way, which meant that I had to screw down through the tabletop and into the top of the cube units, so you can see the screw heads on the table top. This is fine for my table because I then covered it with vinyl, but if you bought melamine-coated MDF, this wouldn’t look great, and things might catch on the screwtops.
So, my favourite tool is the one that allows me to use all my other favourite tools! I hope this article has shown that bespoke furniture doesn’t have to be expensive. I hope it has inspired you to perhaps think a little more creatively when designing spaces for conservators to work in comfortably and safely, especially if that short fixed-term contract does not actually end up being that short!
Victoria Haddock is a paper conservator who graduated from the Camberwell College of Arts, MA in Conservation, paper pathway, in 2017. Since then, she has worked on a variety of projects for institutions such as for the Boots Archive and the V&A, before deciding to go freelance in 2022.
Image credits
Fig. 1 and 9: Photography by J. Haddock
Fig. 2 – 8: Photography by Victoria Haddock

Good idea. I would have had the open sides of the cubes facing outwards to use as accessible storage. Could have the excess mdf cut to size for a couple of shelves.
LikeLike
Hi Roger thanks for reading the article! Hope you enjoyed it. Yes I thought about which way to put the cube units round and I tried to remove the backboard but because they were older it wasn’t going anywhere! I also put some rolls of paper etc. on the shelves which stuck out so if they were the other way round I would have kept walking into the them! And yes, watch this space for what I’m hoping to make with the mdf offcuts!
LikeLike