Note from the author, updated November 2025: Affinity Photo, the photo editing app discussed in this article, is unfortunately no longer available. In 2024, Serif and the Affinity brand were bought by Canva. In October 2025, the three Affinity apps – Photo, Designer and Publisher – were all discontinued and replaced with one hybrid app called Affinity by Canva. As of this writing, the new app can be downloaded and used free of charge. But many are unhappy with its terms of service, which seem to leave the door open for future restrictions, fees and other unwelcome changes. Concerns were also raised about Canva’s user data collection policy. Until this is all cleared up, I don’t feel comfortable recommending new Affinity to conservators (or to anyone) as a long-term solution. We all know that manufacturers can change product formulations suddenly and without explanation. I guess that happens in the digital world too!
A conservator’s toolkit is more than bone folders and scalpels. Among other things, we generally need a decent camera, a computer and a number of digital tools. That’s what I’m here to tell you about.
For photo documentation, my favourite tool is the image editing app Affinity Photo, produced by the British company Serif. It’s a great alternative to Adobe Photoshop for those with a limited budget. Though it does lack some of the very advanced features of Photoshop – most notably those newfangled AI functionalities that everyone’s talking about – Affinity is plenty powerful enough for a conservator’s needs. I use it all the time to adjust exposure, correct lens distortion and balance uneven lighting. With practice, even the abomination in Figure 1 can be turned into the thoroughly inoffensive Figure 2 in just a few minutes.

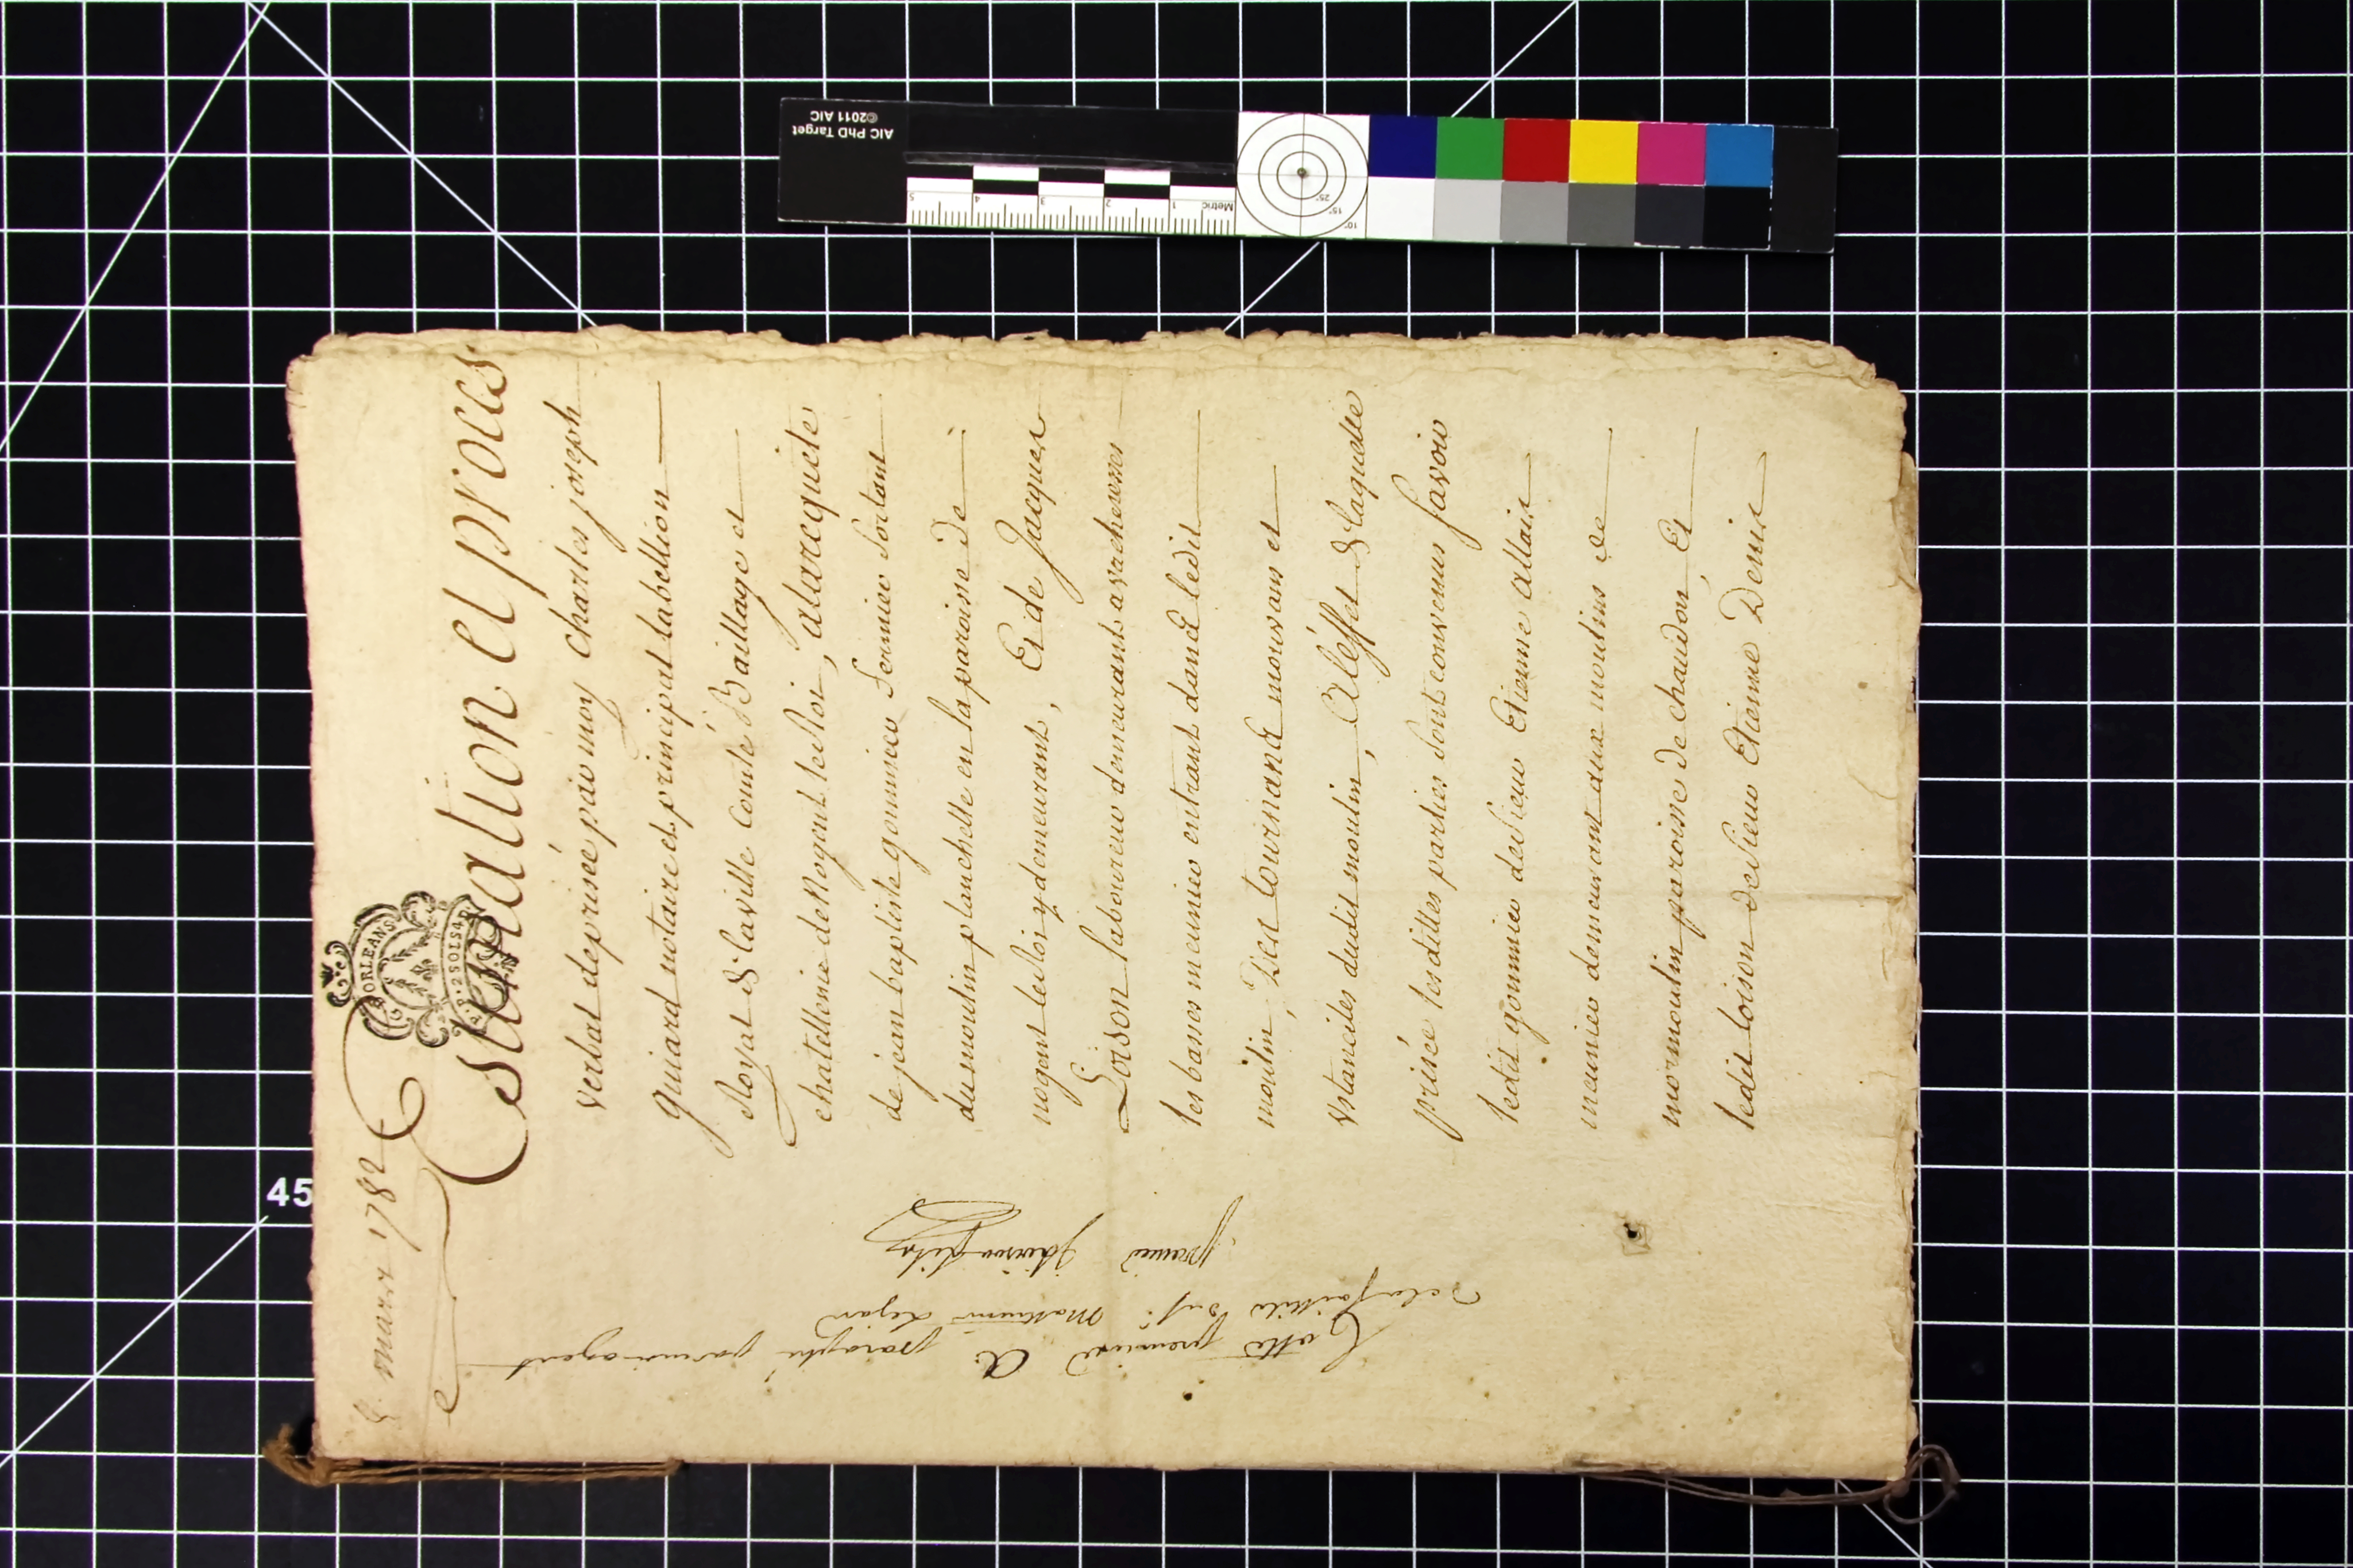
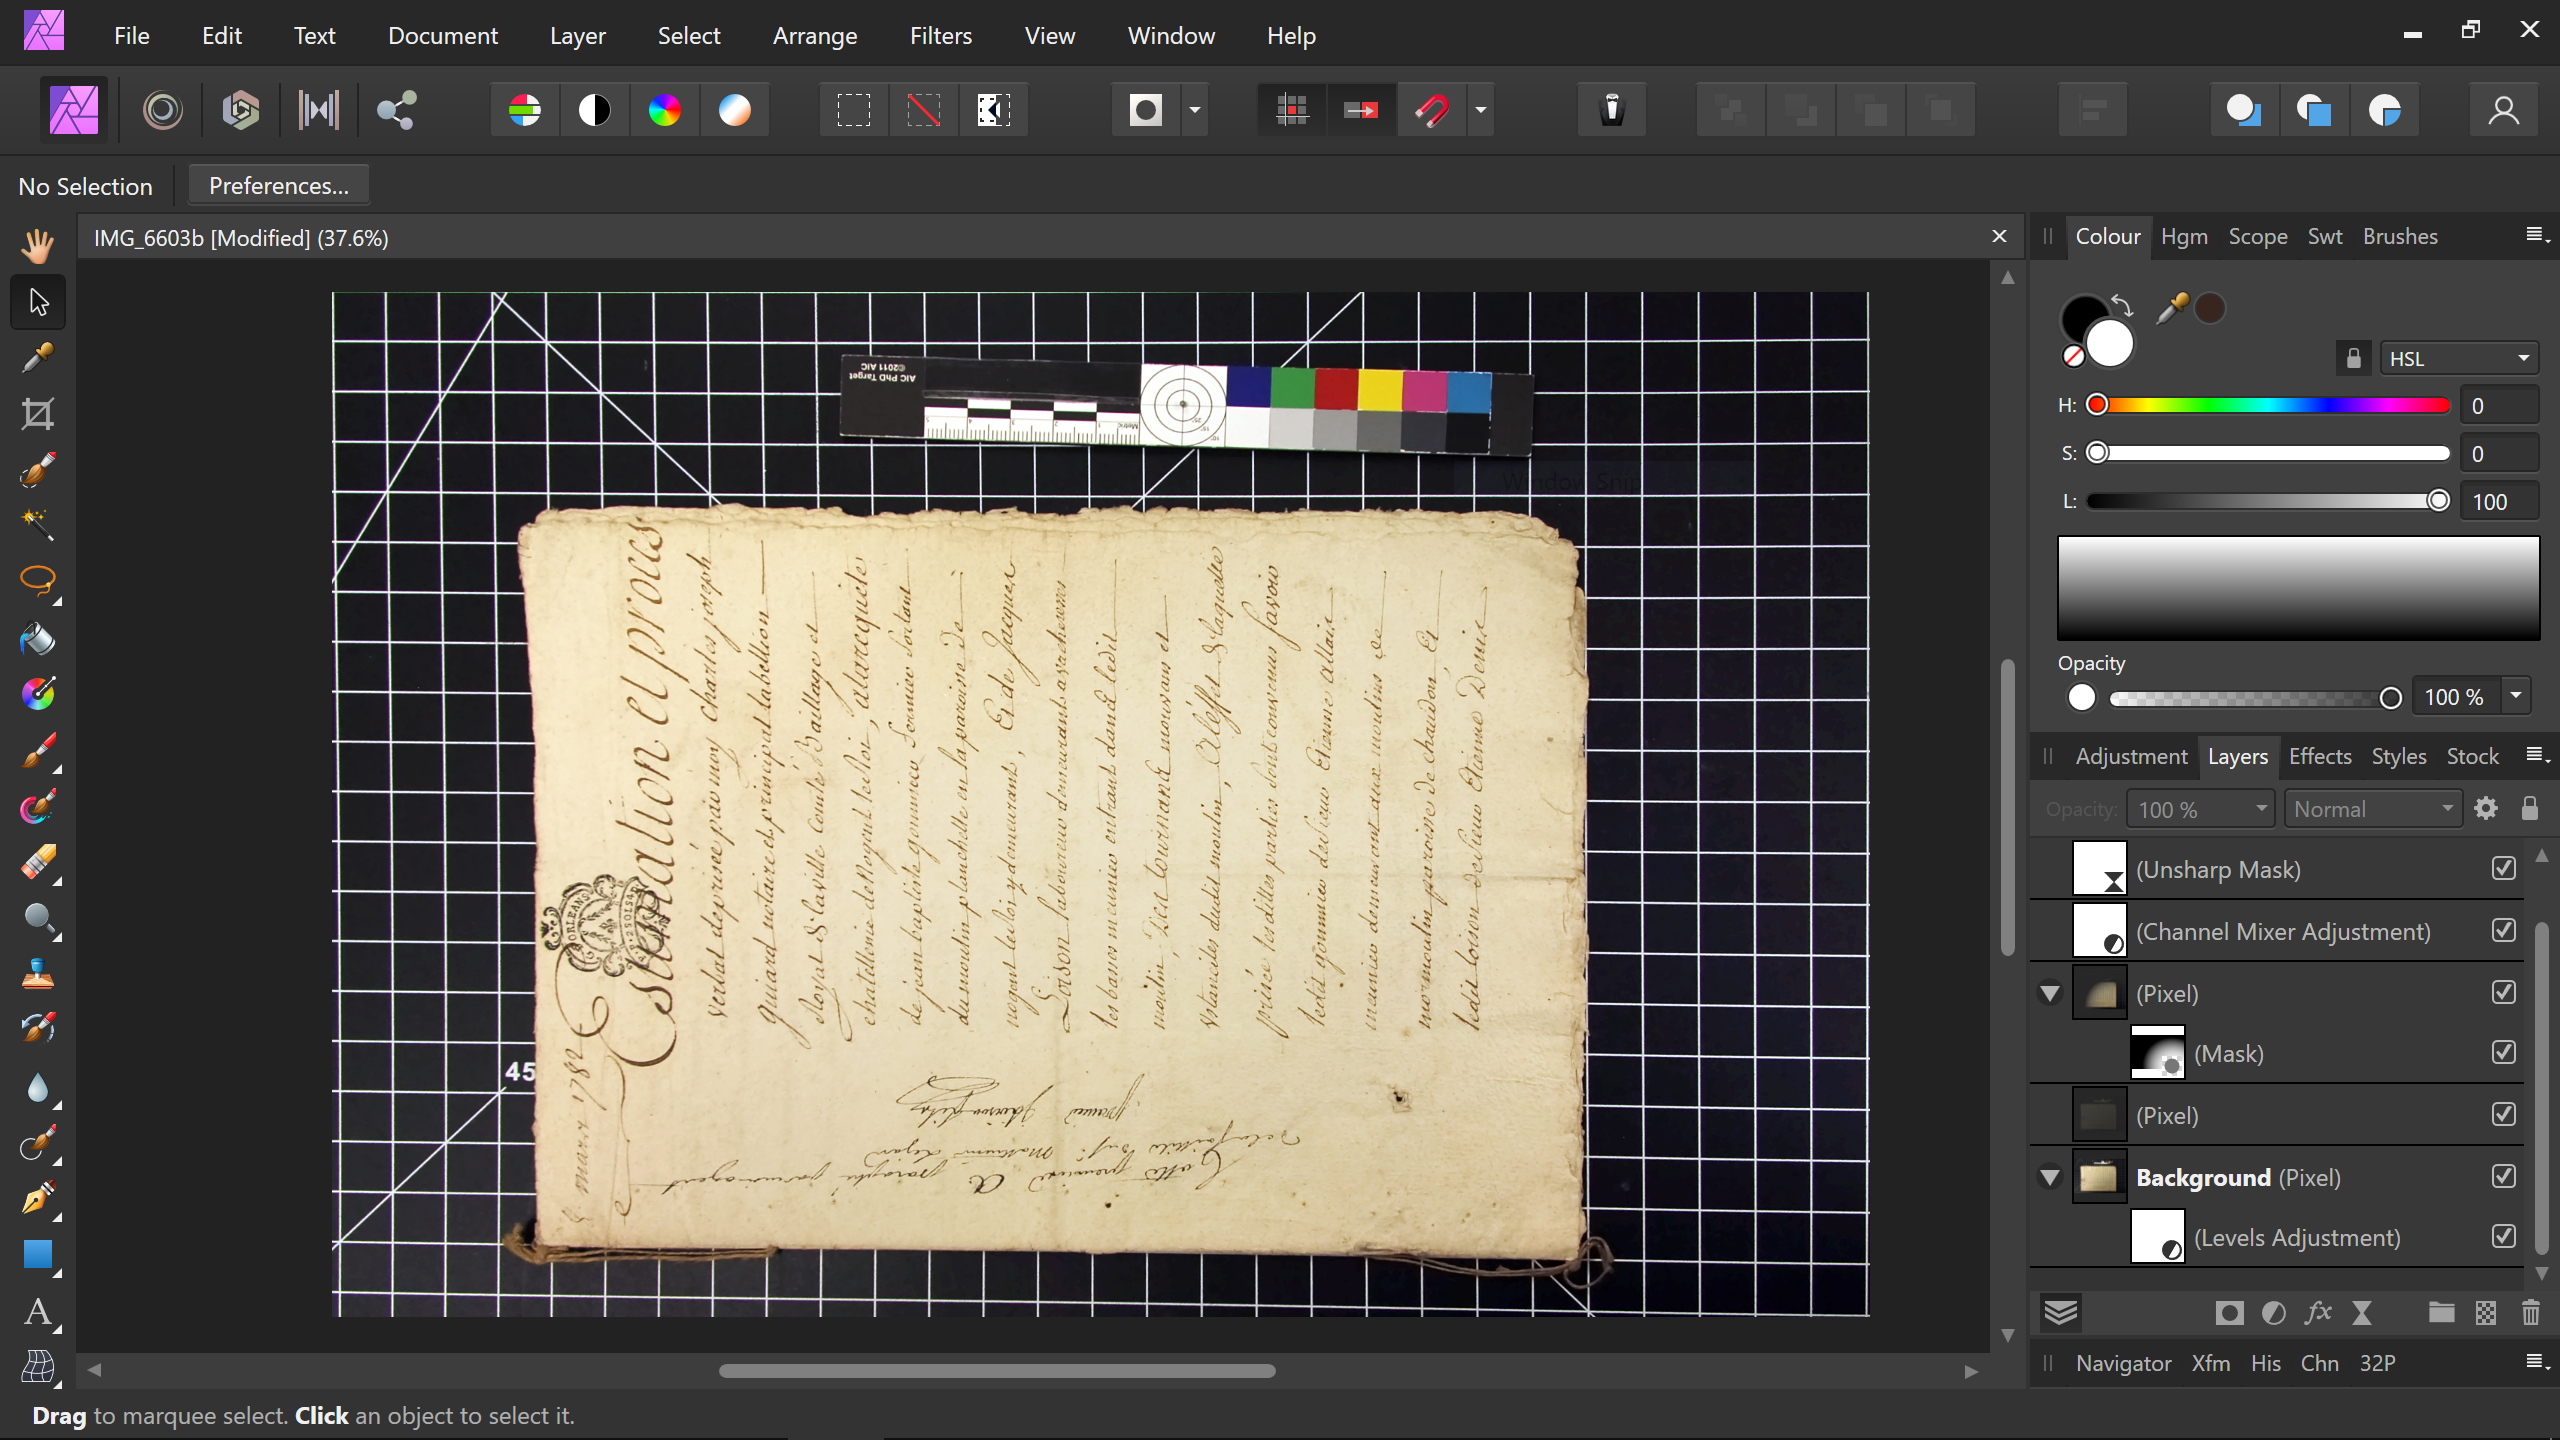
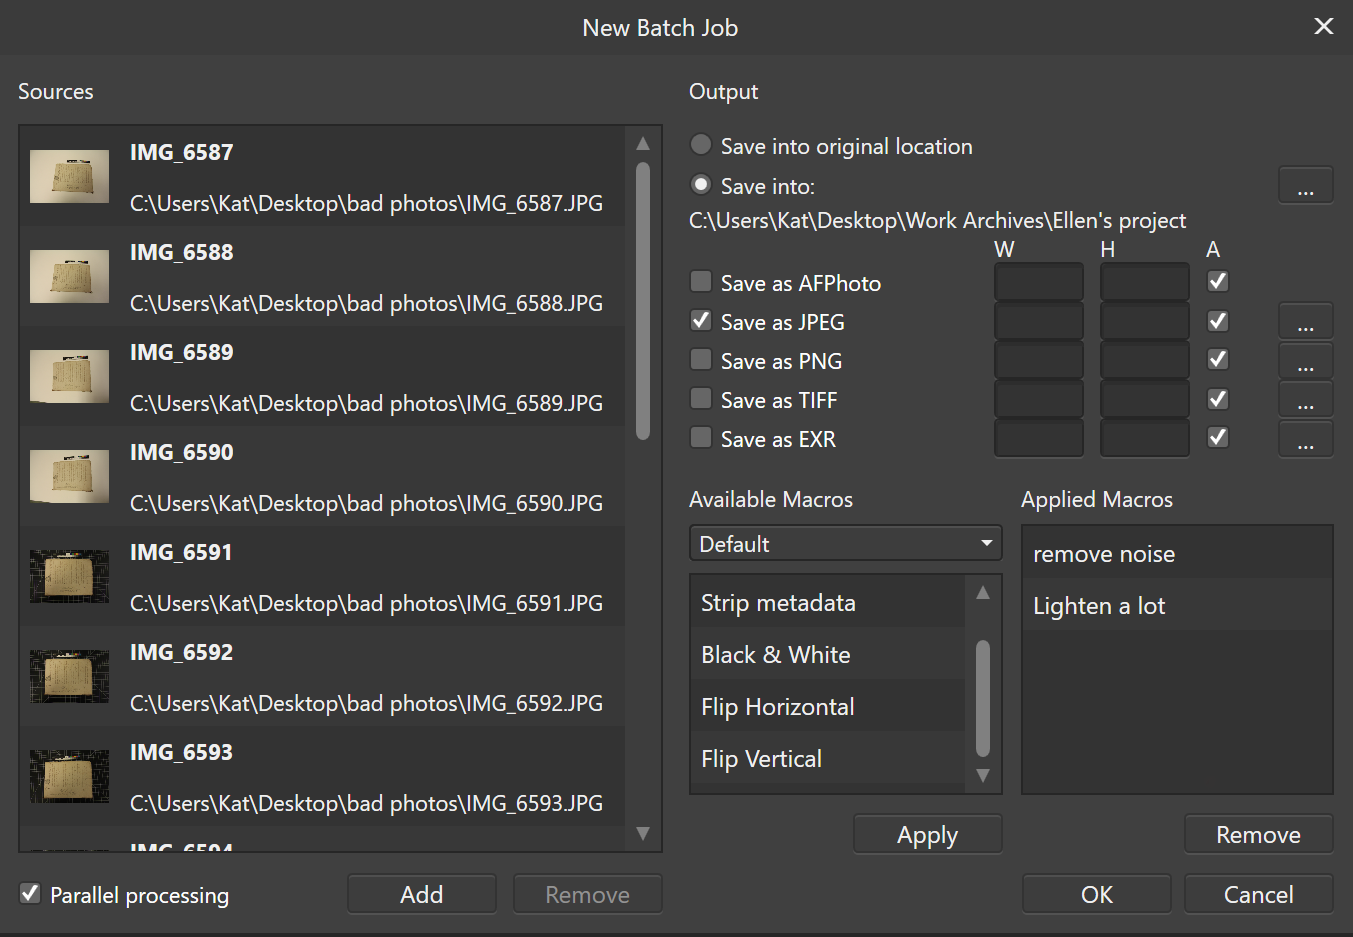
Figure 3 is a screenshot of the app interface with the edited photo. The main steps of the process are shown in this one-minute video.

Another useful feature of Affinity Photo is batch processing – the ability to apply the same adjustment to multiple images at the same time (Fig. 5). This can save you a lot of work if your photos were all taken using the same camera settings and lighting. The only catch is that this cannot be done on RAW files – at least, not as of this writing. Affinity does process RAW files, but individually, not in batches. On the other hand, the app is constantly being upgraded and improved, so who knows? Perhaps this will be possible in the future.
If any of that sounds remotely useful, Affinity does offer a free trial for you to play with it. The app itself normally costs less than $100, and large discounts seem to be offered with some regularity, particularly around late November. And unlike Photoshop, Affinity does not use a subscription model: you pay once and that’s it. One paid upgrade, Version 2, did come out recently, but upgrading was optional. Version 1 remains fully supported and functional, though it can no longer be purchased. (The screenshots you see here are from Version 1. V2 has slightly different icons and a couple of additional features, but otherwise looks about the same.)
If the interface looks a bit intimidating, don’t worry: there are plenty of resources out there to help. If you’re completely lost, there’s the Quickstart Guide or this beginner-friendly tutorial series. If you’ve used similar software before and need to look up something more specific, there are plenty of other tutorials on YouTube, both from Affinity and from third parties. And, if you decide to take up more artistic photo editing, there are inspiring resources for that too.
I’m a big fan of Affinity Photo, as well as its sister design apps (Designer and Publisher). The Affinity suite isn’t just some cheap knockoff. It’s professional-quality software and a great alternative to Adobe. Too few are aware of how powerful and versatile it is. I hope to see more people make the switch.
Katherine Potapova is a paper conservator based in Edmonton, Alberta, Canada. She is also an English language editor, as well as a dabbler in design, painting, writing and other things. She graduated from Queen’s University in 2013 with a Master of Art Conservation degree, and was accredited by the Canadian Association of Professional Conservators in 2020. Currently, Katherine does conservation work for the Archives Store and Client Services, a program of the Provincial Archives of Alberta. She also edits articles for The Book and Paper Gathering.

.jpg)
This was really a nice post to read and watch, and I look forward to getting this tool when I upgrade my computer and have some time. I really like the video; you are very adept with this software. How many hours have you used it would you guess, just to give me a time scale?
Thanks so much for this post!
LikeLike
Hi Ann,
Thanks so much for the nice comment! But as for your question, I don’t think I can answer it… I’ve had this software for years, and I also do digital art, so I fear the total number of hours is impossible to estimate at this point. What I can say, though, is that I wasn’t using it very efficiently for most of the time that I had it. I only started to get proficient over the last year or so, when I set out to learn about how photo editing actually works instead of just messing around. I began watching tutorials on YouTube and trying them out, and that’s when I started to feel like I somewhat knew what I was doing. So I would say that’s the best approach if you want to learn quickly.
Keep in mind, too, that this app does a lot. What conservators would realistically need out of it is just a sliver of what it can do. I imagine you could learn most of the relevant techniques in a couple of weeks if you really focused on it. Maybe I could make a “photo editing for conservators” tutorial someday if people are actually interested in this…
LikeLike
A tutorial tailored for conservators? That would be soooo helpful! Especially for older colleagues like myself, who do not feel that confident with many of the digital tools.
LikeLike
I think Affinity Photo is a great option for photo editing. It is powerful, affordable, and easy to use. If we are looking for an alternative to Adobe Photoshop, I would definitely recommend giving it a try.
LikeLike
Great insights into the tools conservators use! Affinity Photo sounds like a fantastic budget-friendly option for photo documentation, especially with its powerful features for exposure adjustment and lens correction. It’s impressive how much you can achieve with it despite the lack of some advanced AI functionalities.
LikeLike
It’s fascinating to learn about the digital tools conservators use, especially how technology like Affinity Photo can enhance their work.
LikeLike